I bought a box of Owens Corning 703 2” fiberglass boards a few years back, and had used it to make two 4” thick panels. The two remaining OC703 boards were sitting in storage, as my focus moved on to other DIY projects. I across some leftover 1x5 lumber recently, and pushed myself to use up the OC703.
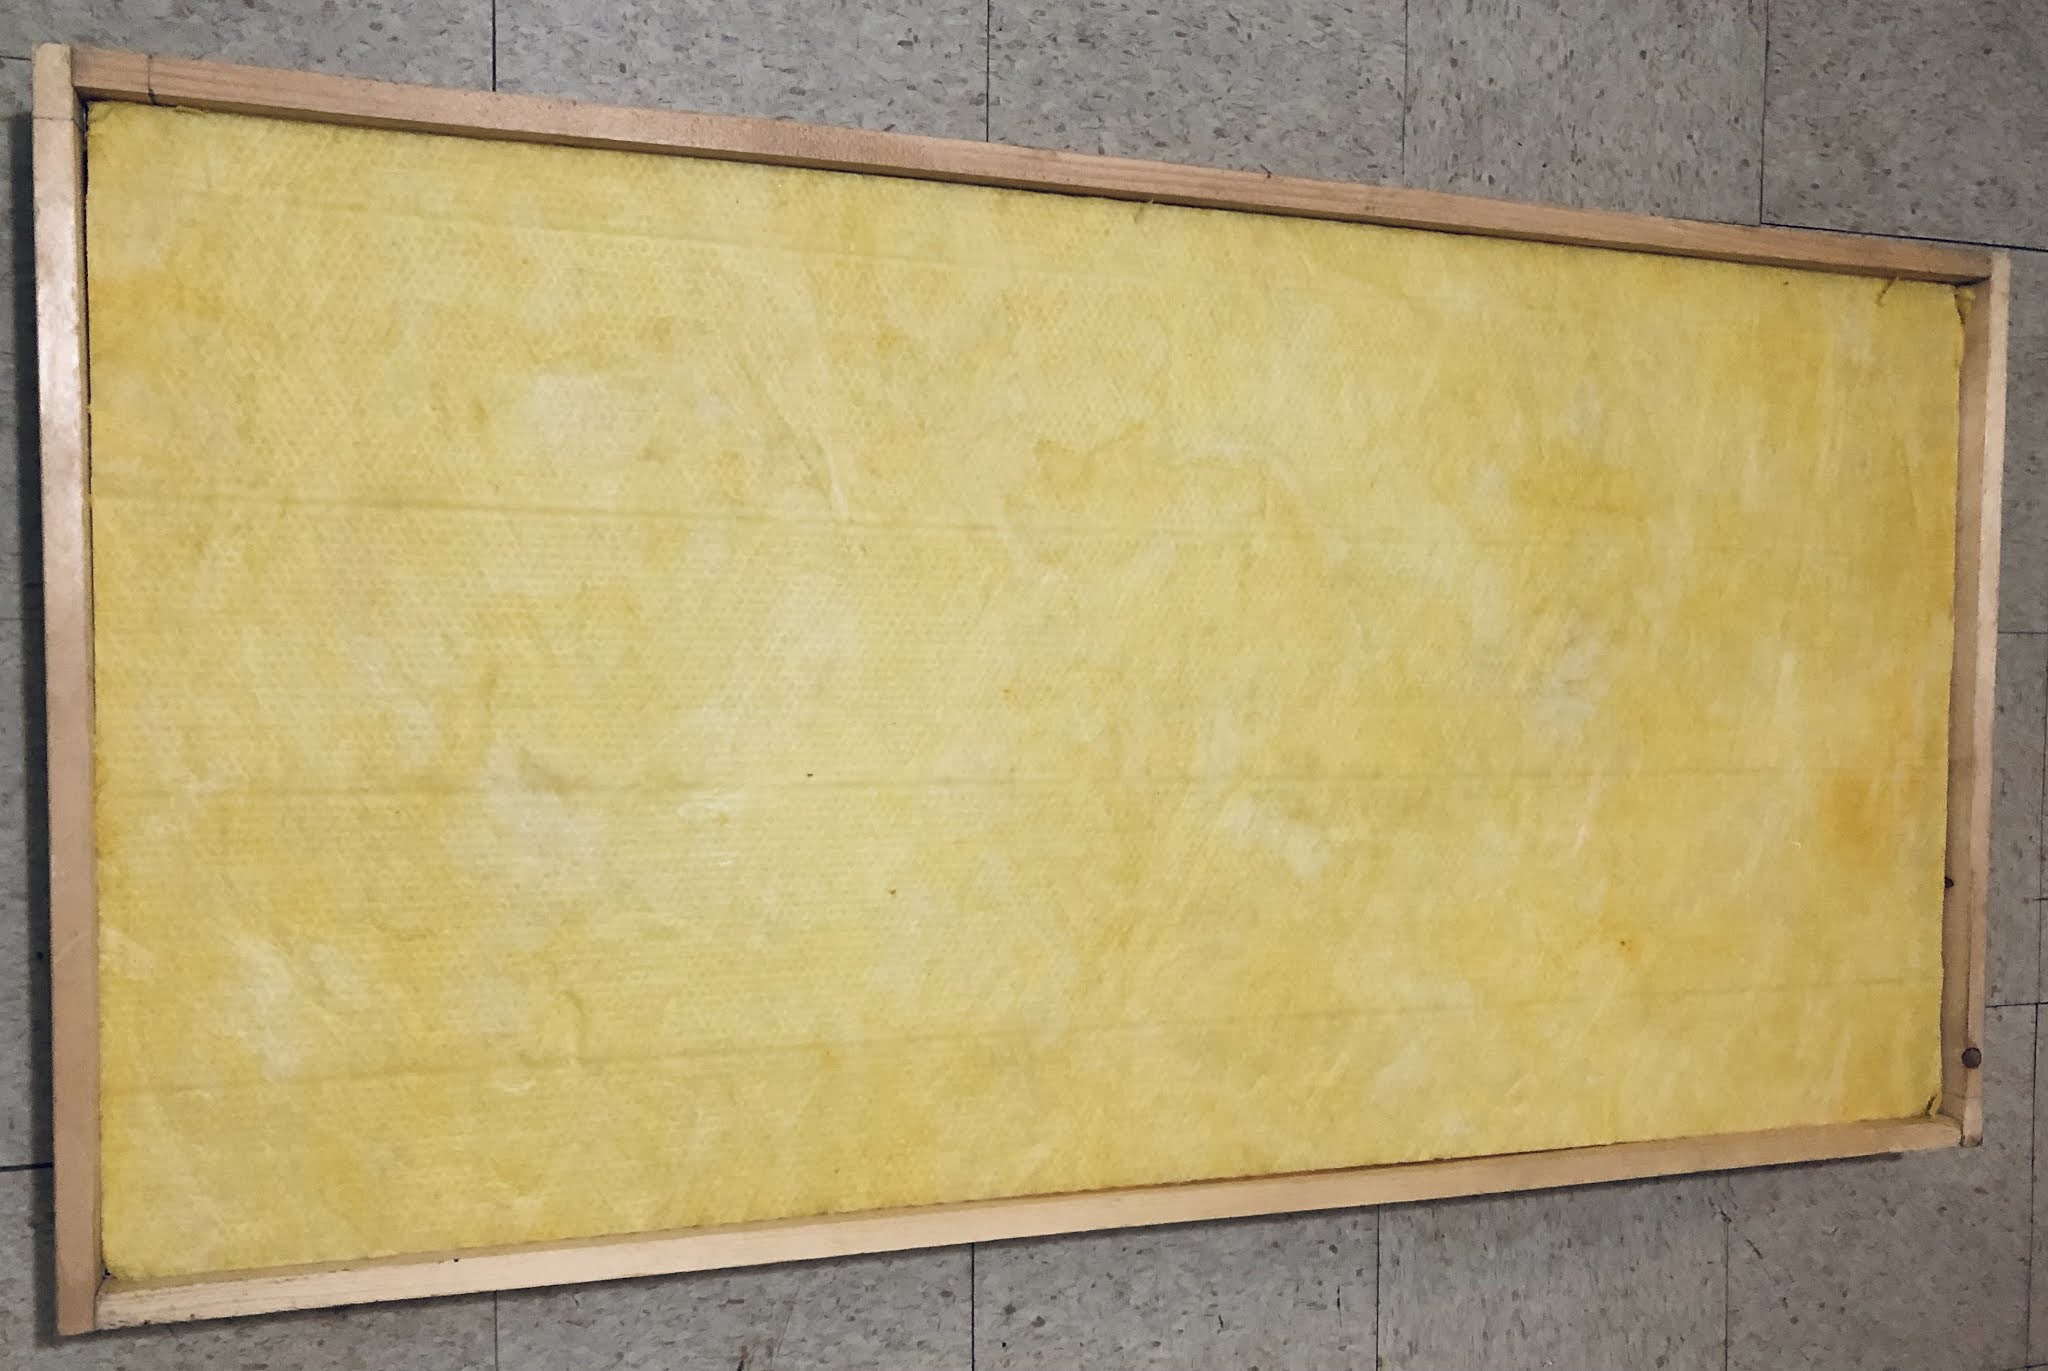
The joints of the 25.5”x49.5”x4.5” frame were glued and reinforced with corner braces. I stapled bleached muslin fabric onto the frame. I may eventually attach an external frame of 1x1 lumber on the front to hide the staples for aesthetic purposes. It is not a high priority at the moment.
Panel with 4” of OC703 stuffed into frame.
Edit - 10/18/22 - I had some extra white paint to use on the sides of the panel to make it more presentable. I ended up screwing 1”x2” pine strips onto the front face to hide the staples.
Completed 4” thick OC703 panel.
Next, I am thinking of building 6” thick panels with Safe ‘n’ Sound, and soffit-style bass traps with fluffy insulation to improve my room’s acoustics.
I recently got the Engineer SS-02 Solder Sucker in the mail. I did not have much luck with a solder wick in the past, although that is likely due to user error. I came across some videos on Youtube which were very helpful in demonstrating how to use the SS-02 to desolder components off PCBs.
The main attraction to this tool is that the silicone tip is rated for 350ºC/662ºF, which can withstand the heat of my typical desoldering work. I can push the tip directly down onto the joint and iron tip without worrying about the solder sucker melting. It looks like the SS-02 is all metal in construction, and will be will durable. I don't know how much it matters that it was made in Japan, but the SS-02 is solid feeling and the design considerations in regards to heat makes it worth the price.
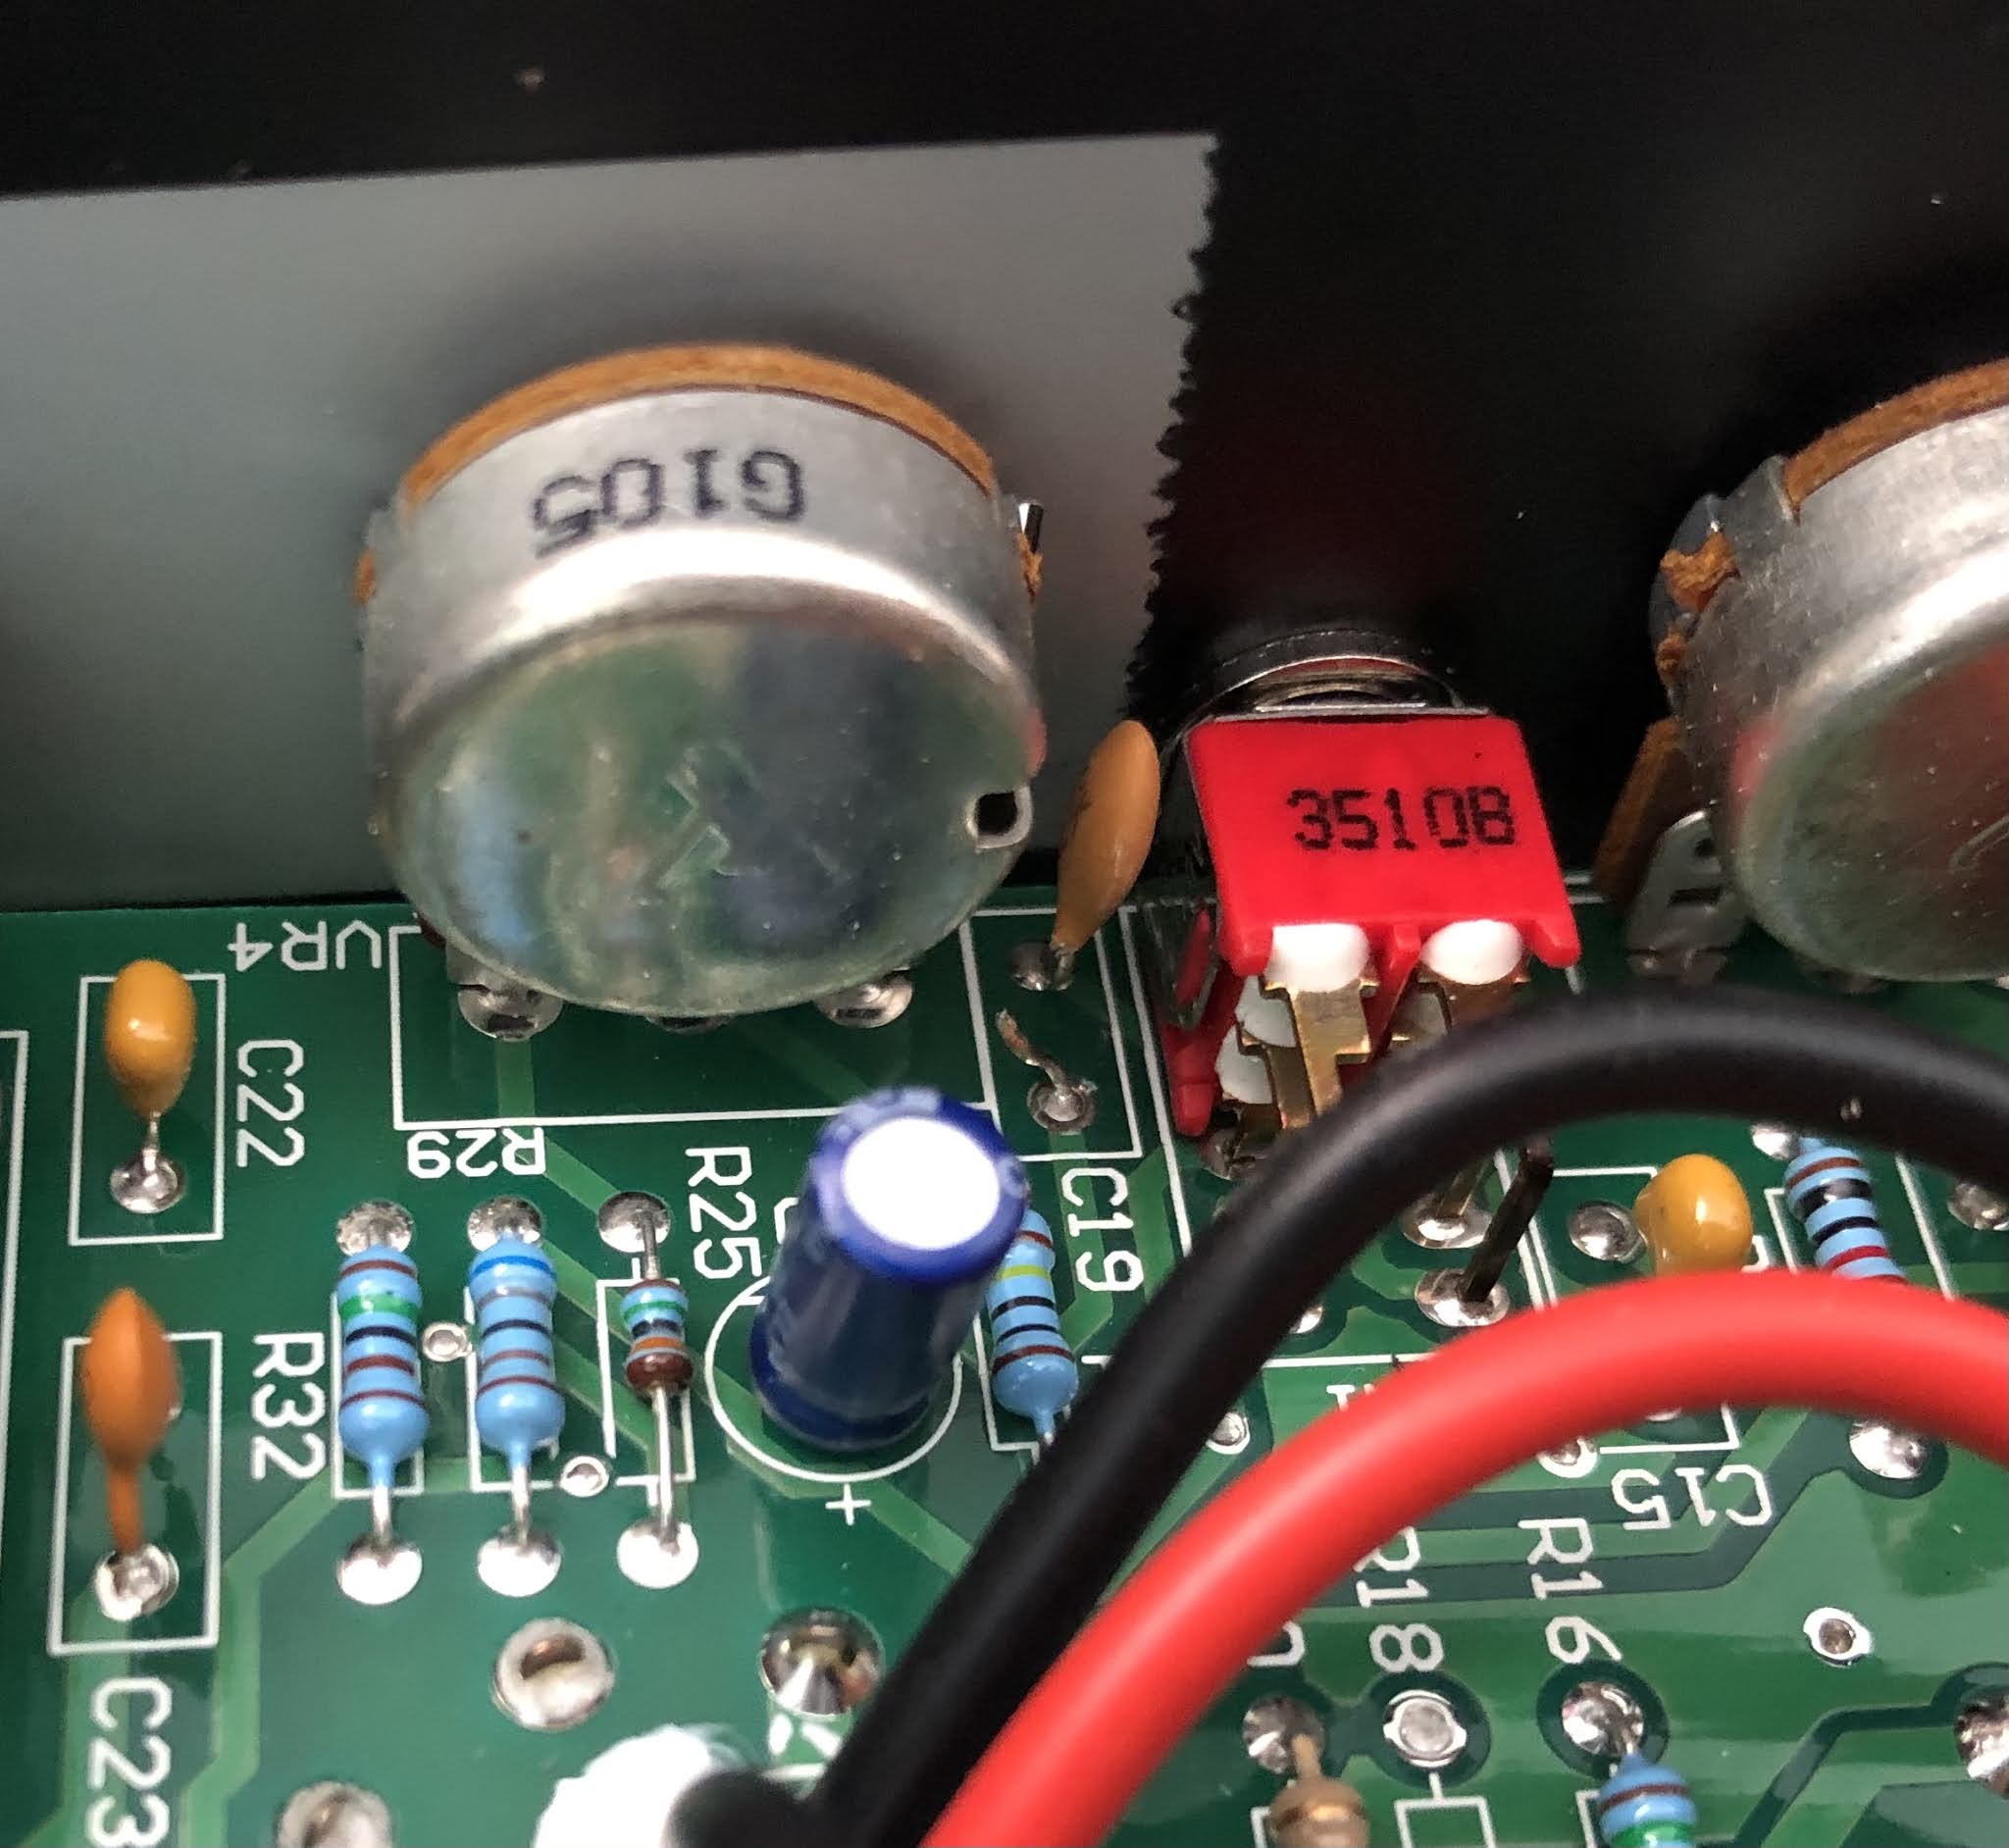
Vox Lil' Night Train C19 clipped, but not desoldered.
Vox Lil' Night Train C19 removed off PCB. Green wire installed in one hole for now.
My first experiment was to completely remove the bright cap C19 on the PCB of my Vox Lil' Night Train head.When I originally modded the amp, I clipped the component without removing it off the PCB. I did not have any desoldering tools on hand at the time, and did not have any luck desoldering the the capacitor off the pads. I was able to get the excess solder off the pads with the SS-02, knowing that I could shove the tip onto the PCB. The PCB holes were clear of solder, with the solder pads intact. I will be adding a switch onto to make a bright cap switchable on this amp.
Now that I am a little more confident in my ability to cleanly desolder through-hole components, I will look into further modifying my Jet City JCA22H head. I would like to install a choke, and see if swapping components to SLO values will be worthwhile. I would like to change out the filter caps in some of my older 80's audio equipment, component swaps I would not consider performing without the right tools.
I’ve owned a Roland Cube 60 modeling amp since 2004. I outgrew it once I started getting into playing though tube amps and VST amp modeling. I wanted to separate the amp into a head and cabinet so I could get more use out of the amp. Unfortunately I learned that the Cube 60 baffle cutout was too small for typical 12” speakers. The stock full range Roland Cube 12” speaker is a different shape than a typical 12” guitar speaker.
Roland Cube 60 Cabinet with Mojotone 12” to 10” Baffle Converter.
I didn’t have a way to cleanly enlarge the hole in the baffle. The easiest option in my mind was to use the cabinet for a smaller 10” speaker. I ran across plywood baffle converters from J Design and Mojotone. I went with the Mojotone, since it was suited for front mounting of speakers. The Mojotone converter comes with 4 keps nuts to hold a 10” speaker onto the converter’s speaker mounting bolts. I bought some slightly longer M4x35mm bolts to mount the converter onto the Cube’s MDF baffle. The stock speaker mounting bolts are M4x25mm.
I will be trying out a Jensen C10Q and an Eminence GA10-SC64 in the cabinet. Based on my encouraging experiences with recording with the Jensen P10R speaker, I want to explore more flavors of 10" speakers with my 5F1/5F2A head and Pro Junior IV.
If the cabinet records well and I can make some useful impulse responses out of it, then I plan on buying some more 10" speakers to rotate in and out. I will keep the metal grille off, so the front loading of speakers should lead to quick speaker swaps. I am hoping that the front porting and the inside insulation will not significantly impact the sound negatively in a close mic'd scenario.
Edit - 6/11/21 - I loaded the Eminence GA10-SC64 into the cabinet. I finger tightened the keps nuts of the baffle to secure the speaker. I got the feeling that the baffle is actually meant for rear loaded installations, but will proceed with using it as a front loaded cabinet.
Cabinet front loaded with speaker.
2021 Eminence GA10-SC64 Speaker.
Jensen C10Q.
Edit - 06/25/21 - The GA10-SC64 is very different from the P10R. I am not familiar with the nuances of American-style speakers, since there aren’t as many online audio examples as the British-style speakers. The P10R works well with tweed overdrive, while the GA10-SC64 fares better with cleans for my usage. The GA10-SC64 is not harsh, even with a microphone pointed directly at the center of the dust cap. Blends of my GA10-SC64 and P10R IR captures are pleasing, as the speakers seem to be complementary.
Capturing GA10-SC64 IRs with a Shure SM57.
The Cube 60 cabinet’s ports don’t seem to exert a negative influence on the sound, so I intend to continue to experiment with more 10” speakers. I would like to eventually try an Eminence Red Fang 10 and a hemp cone speaker, after I familiarize myself with the GA10-SC64 and C10Q.
Edit - 8/29/21 - I swapped in the Jensen C10Q speaker to see how it compares to the GA10-SC64. The swap was quick and painless, as I originally anticipated with the front-loaded exposed baffle. The C10Q is brighter than the P10R and GA10-SC64.
One of the projects that I have been putting off for a while is the installation of new pickups in my Malden Mozak offset tele-type guitar. It is my only Tele-type guitar, and my main reference for the Telecaster tone. The balance between the stock bridge and neck pickups was ultimately something that I thought could be improved on the guitar. The bridge position hit the front end of my amps in a pleasing way, but the neck position was dark and quiet.
Malden Mozak.
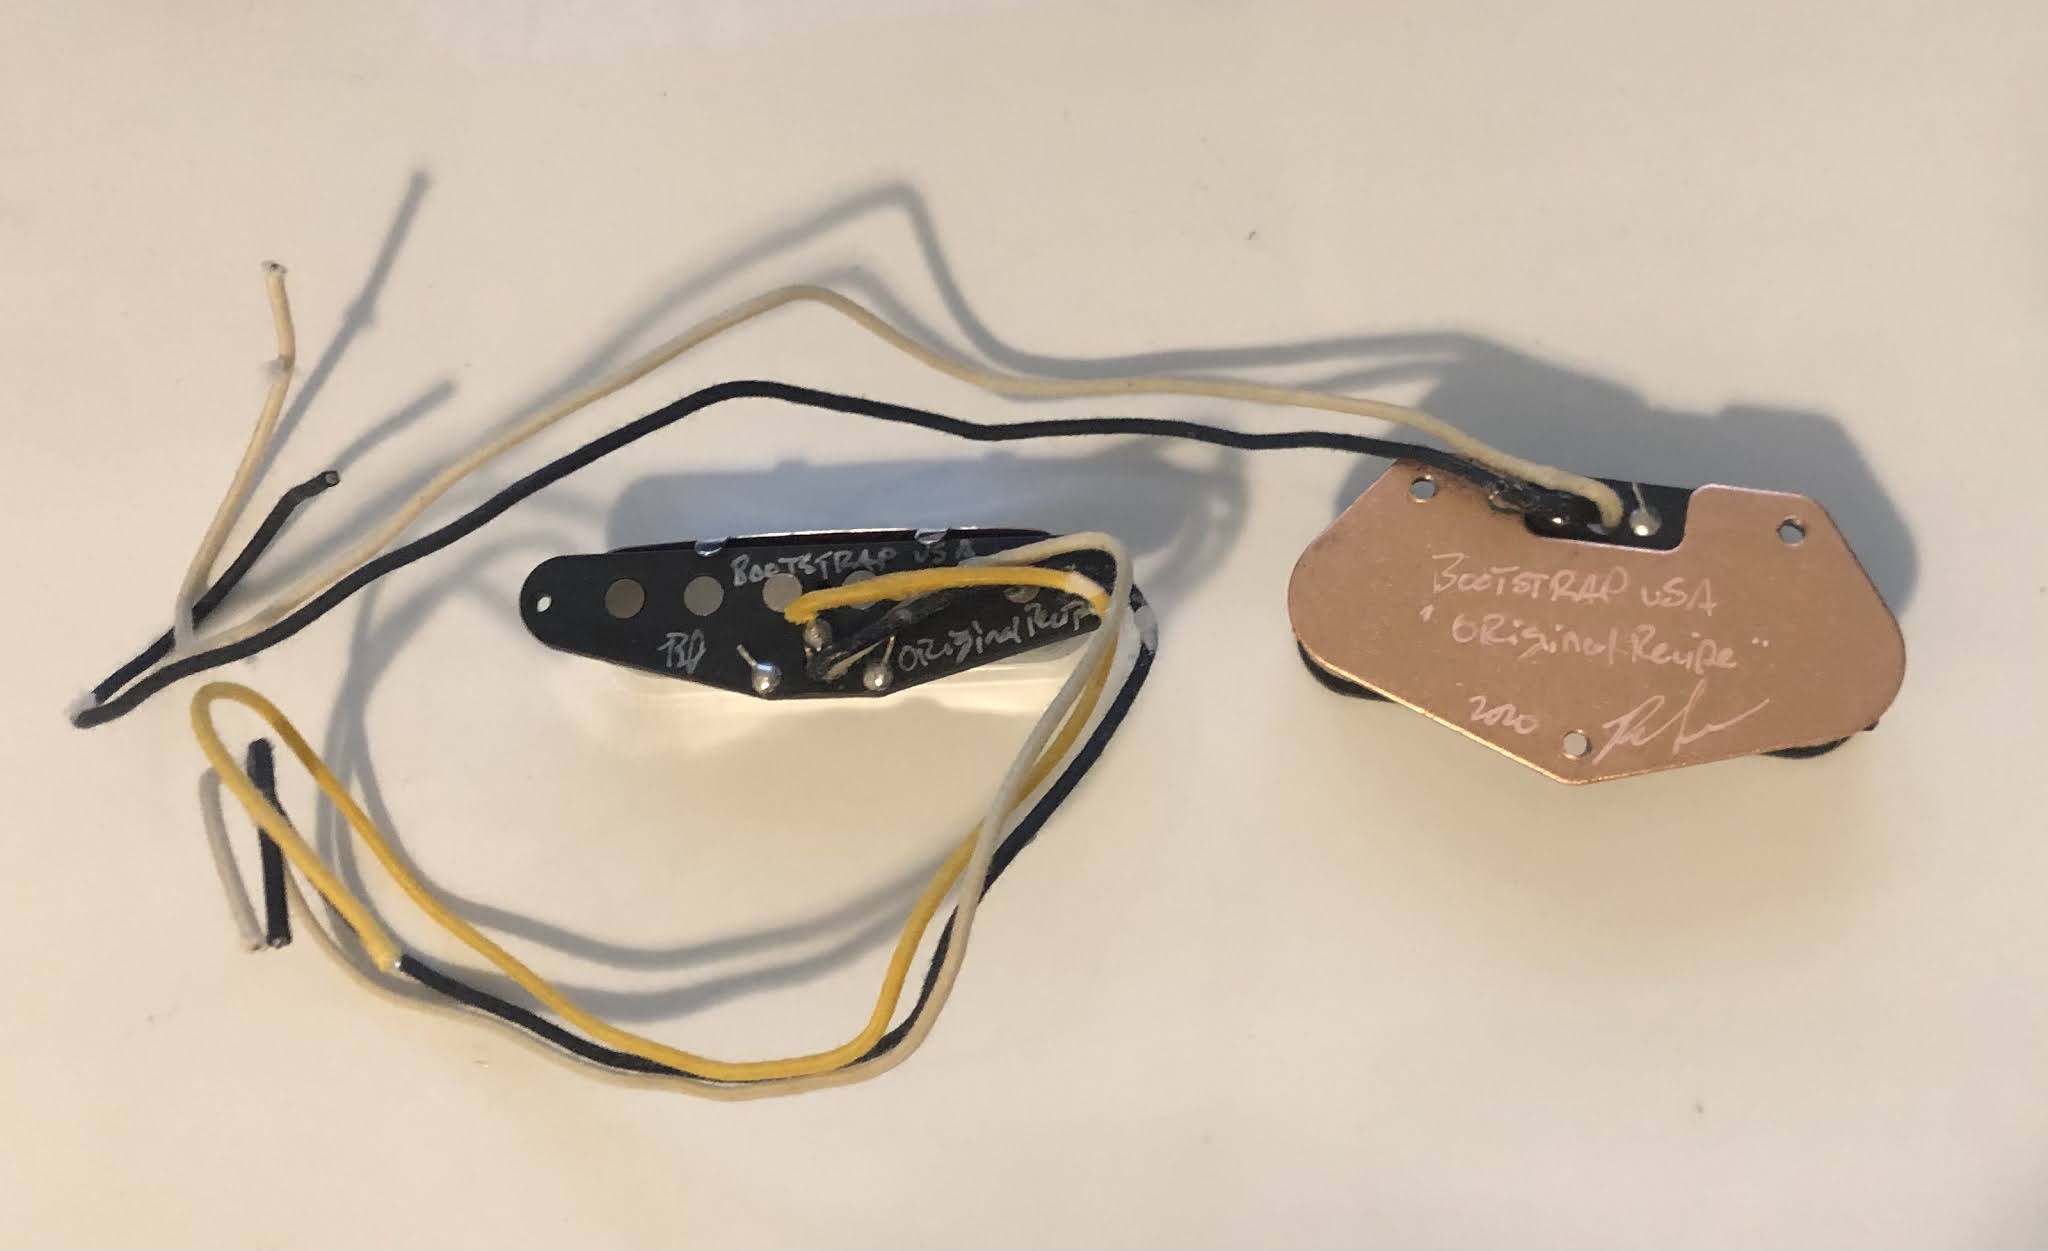
I bought a set of Bootstrap Original Recipe Alnico III pickups as a cost effective upgrade to the stock Alnico V pickups. It took about a month for me to get the pickups in the fall of 2020, and I knew that the wait times would only increase as the brand got more popular. The current price for these US-made pickups is still less than some import sets I was considering like the Tonerider Tele pickups. The DC resistance of the pickups are 6.32kohm for the bridge and 7.20kohm for the neck. I had forgotten that the DC resistance of the bridge pickup was lower than the neck pickup.
The Malden Mozak will be modified as follows:
New pickups.
250K linear pots to replace stock 500K pots.
0.022uF Orange Drop capacitor.
Gotoh In-Tune compensated brass saddles.
New 3 way switch.
Edit: 5-14-21 - I recently completed the swap of the bridge and the pickups onto the Mozak. I got a a chance to measure the stock pickups by themselves, before I retire them in a storage bin. The stock bridge pickup's DC resistance was 7.78kohm and the neck pickup's resistance was 7.02kohm.
Bridge saddle swap prior to pickup swap.
I maintained the action and pickup heights to match the stock configuration, as they were within typical recommended values for Telecasters. I kept the old strings on throughout the installation, recording DIs to compare afterwards. I first replaced the bridge saddles with the Gotoh saddles. The Gotoh saddles seem to even out the guitar's sound. I set the intonation using the Cockos ReaTune plugin as my tuner. I was able to get within 1 cent on all strings, except for the A string being ~3 cents off. The stock saddles intonated fairly well in the past, but I think I got better results with the Gotoh saddles.
Part of the reason for putting off the project is the minor inconvenience of taking off the bridge to swap the bridge pickup. The stock guitar stayed in relatively good tuning for months at a time, and I was worried that I could not restore its stability with my skills. Time will tell. The installation ended up being a mostly painless swap, although it would've been much easier had I taken all the strings off. The pole pieces of the Bootstrap bridge pickup are flush with the pickup cover, while the stock pickup pieces are raised. The Bootstrap order came with several 1/4" length pieces of tubing to set pickup height, but I reused the stock springs to set the bridge pickup height at 3/32".
After bridge saddle installation and pickup swap.
The stock neck pickup was supported with foam, so I had to cut 3/8" lengths of tubing to get the Bootstrap neck pickup to match the height. The stock neck pickup cover was curved to somewhat match the neck radius, while the Bootstrap neck cover is flat. I used the high and low E string heights to set the pickup height at 7/64".
Comparison of stock pickups vs Bootstrap pickups after pickup swap.
The component swaps were overall an upgrade to the existing hardware. The pickups are more balanced than stock, and the rest of the electronics are more in line with a typical modern telecaster.
I had been considering a Winfield Typhoon for some time now, and finally pulled the trigger on a chassis. I wanted to add a low wattage Vox-inspired amp head, and the Typhoon was the most interesting option at its price point. The amp will be staying in my “home studio” primarily for recording duties.
The supplied EF86, 6AT6, and EL84 tubes.
The amp arrived one week after I put my order in. The Typhoon is built into a 10”x6”x2” chassis. The amp came with a =C= EF86, Raytheon 6AT6, and a JJ EL84 tube. The EF86 tube socket is somewhat isolated from the chassis with some sort of rubber. All the components look solid. It's got a Weber reverb transformer as the PT and a Heyboer Champ style OT.
The guts.
I have only been able to fire the amp up through a Suhr Reactive Load through IRs for my first impressions. The amp is single channel with Tone and Volume controls. The volume knob provides many shades of breakup. The tonality is very different to the Tweed and Plexi sounds that I get from my other amps.
I am favoring lower output pickups with the amp. In my initial experiments, I liked the Dimarzio 36th Anniversary PAF bridge humbucker wired in parallel much more than in series. Likewise, I was getting great broken up clean sounds from the Dimarzio Area 58 and Area 67 pickups in the neck and middle positions of my HSS Strat.
Edit - 6/3/21 - I have been playing through the Winfield Typhoon lately with my Malden Mozak guitar equipped with Tele-style pickups. It has reinforced my preference of hitting the amp with low output pickups in a recording context. All three pickup positions sound good at various Tone and Volume settings. The amp was difficult to dial in with the Dimarzio 36th Anniversay PAF wired in series in my HSS Strat.
I found that the best results through humbuckers were with distant condenser mic'd (U87, KM84) Vox-y speakers (Alnico Blues and Silvers) impulse responses from RedWirez. With single coils, I was able to dial in pleasing sounds my own impulses of my Eminence 1x12 with Weber Ceramic Blue Dog.
All of the commercial Vox-y impulse libraries that I own work well with the Typhoon and single coils. The York Audio MTCH 212 G12M25 and G12H30 IRs worked well with the Typhoon with single coils as well.
I initially bought the Eminence XTC112-BT cabinet in September 2020, under the impression that there was a small number of cabinets still in stock. However, the cabinet was backordered until early February 2021.
The construction is similar to the 2x12 version that I previously bought. The cabinet is made out of 3/4" plywood, with dimensions of 22.8"L x 11.4"W x 16.6"H. It is the same depth as the XTC212-BT. The front grill is removable to front load a speaker.
Front of unloaded cabinet.
Grille taken off.
Rear of cabinet with removeable back.
Weber Ceramic Blue Dog
I bought a used Weber 30W 8ohm Ceramic Blue Dog, with pre-Rola doping, to install into the Eminence cabinet. The Reverb listing claimed that the speaker wasn’t broken in with only 6-10 hours of playing time, despite being over 10 years old.
Weber Specification Sticker.
Weber Ceramic Blue Dog.
Loaded cabinet with back removed.
I intend to use the 1x12 cabinet with the adjustable back off for lower gain and clean sounds reminiscent of the Celestion Alnico Blue. The cabinet ($150 + $40 shipping) and speaker (~$100) came out to just under $300.
Cabinet with Warm Audio WA47JR in front of the Ceramic Blue Dog speaker.
I think the sound is similar to other Celestion Alnico Blue speakers in IR form, although there is a slight fuzziness in the sustain. At about half the price of pretty much all Alnico 12" speakers, I am happy with that compromise.
I am very happy with how these impulses turned out. I have been able to learn a lot about mic positioning of the speaker by making these impulses. It's also helped me figure out how to emulate specific album tones done with Vox amps. See my post on the NAM capture of my Vox AC15C1 amplifier.
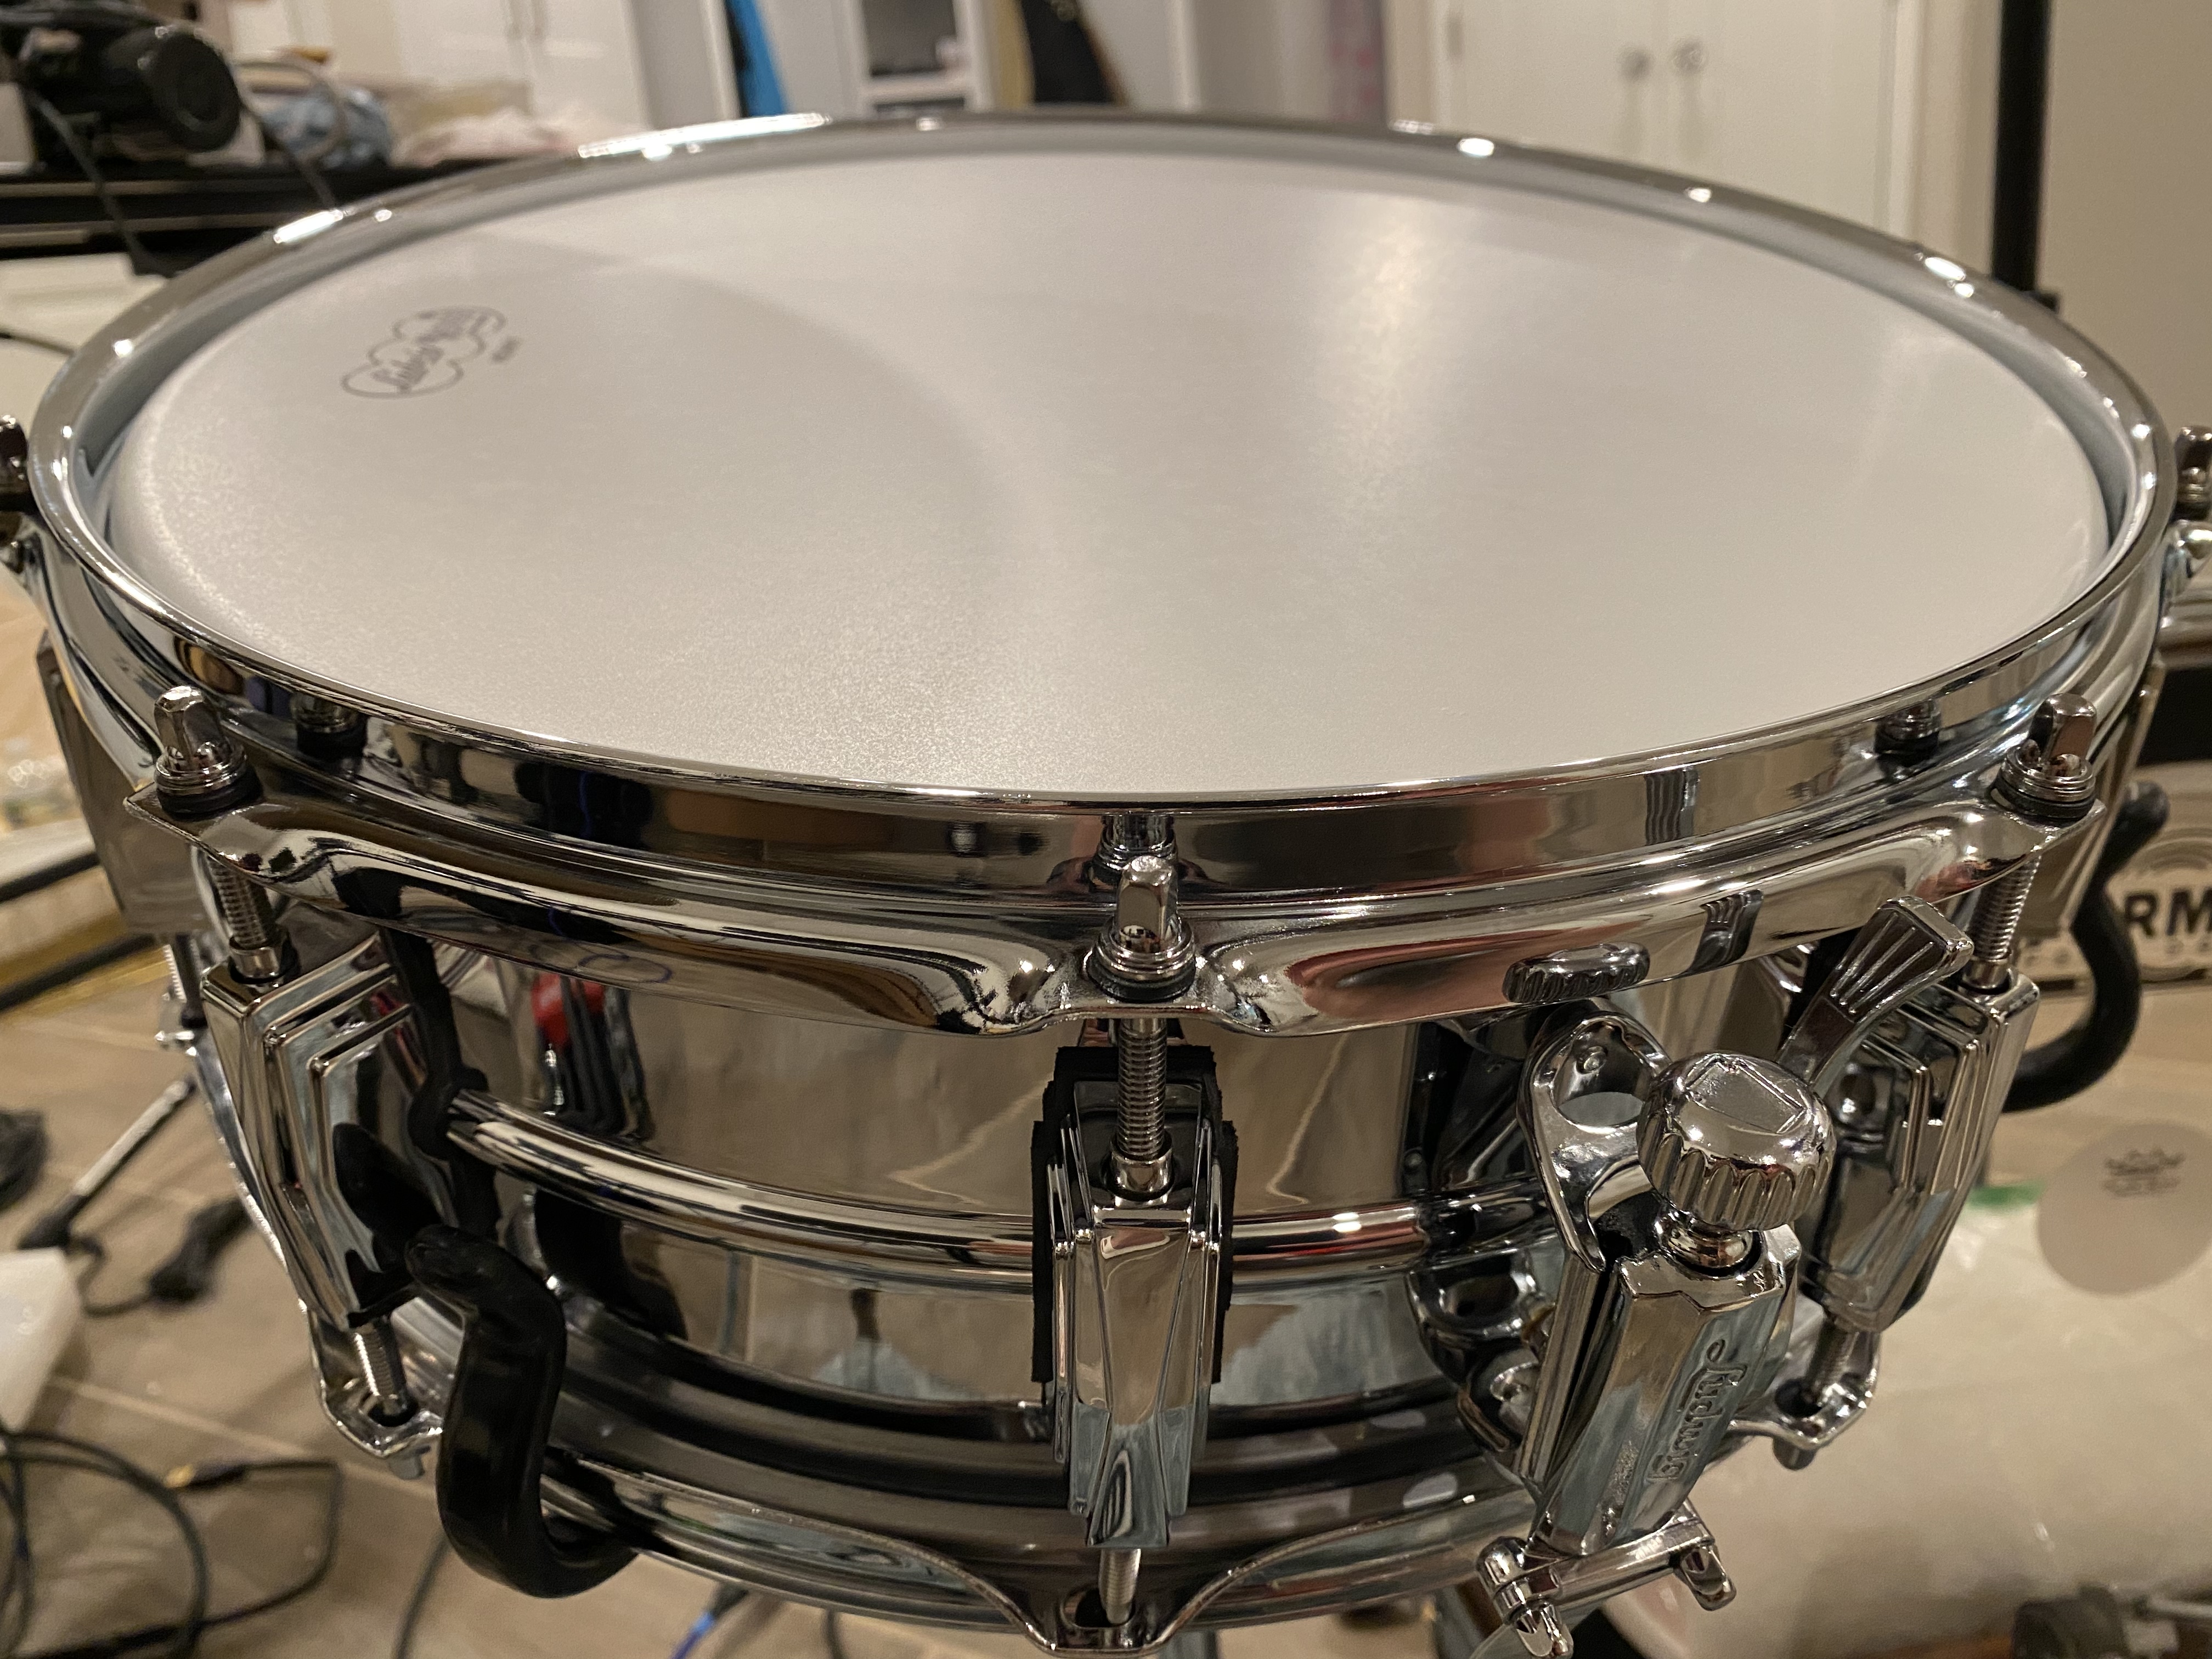
I have a 1976-1977 Ludwig Blue & Olive badge Acrolite snare that I bought with a bent P85 strainer adjustment. I had a hard time turning the knob to adjust the snare wire tension and wasn’t getting the full range of snare tension adjustment. I would have to lift up the handle before engaging the snare. The experience felt off to me for a snare with such a great reputation. I thought I had gotten a dud until I read about other users’ experiences. It was the first drum that I had bought and I had no idea how to maintain it.
P88AC (top) and P85 (bottom) Front View. The bend of the P85 is visible.
The P85 knob was bent, and difficult to turn. The P88AC is much more smooth in use, although the original P85 is 40+ years old at this point. Time will tell how it holds up. The P88AC's knob is detented, which I like. Like other users, I can only adjust the tension while disengaged.
P88AC and P85 Rear View
The P88AC allows me to use snare wires with straps, although I am reusing the cord-tied Gibraltar SC-4467 20 strand snare wires that I previously used with the P85.
I knew going in that I would have trouble installing the butt plate, but the holes did not even appear to line up on my snare. The stock butt plate works well, and I am not concerned about the mismatched aesthetics.
Edit - 08/18/22 - I bought a B-Stock Ludwig Supraphonic snare and it came with the P88AC already installed. No need to upgrade.
I decided to pull the trigger on buying a power and output transformer for my 5E3 lunchbox head project after hearing that Classictone Transformers will cease operations after October 2020. I’ve used Classictone for my two other builds because of their upright project-style power transformers. I don't have the tooling to make a cutout for a laydown transformer, so I have only used upright power transformers so far.
Classictone 40-18066 PT and 40-18022 OT
I did not come across any upright PT comparable to the 40-18066 that was in stock. The 40-18066 is an upright version of the 40-18017 laydown transformer, so I can use the Triode layout for transformer wiring reference. The 40-18066 does have a center tap for the 6.3V secondary, so I don't have to incorporate extra wiring to balance/elevate the heaters.
The 40-18022 is the standard 8kohm/8ohm 5E3 output transformer from Classictone.
Quick mockup of layout in CAD.
I bought the transformers before coming up with a layout this time. I had placed the PT and OT a little too close together on my Plexi build because I drilled the chassis before getting the transformers.
Hammond 1444-24 aluminum chassis taped up for drilling.
I need to buy some tube sockets, a Powercon connector, and I should be able to build this amp. I have already populated a turret board with Vishay metal film resistors, MKT1813 coupling capacitors, and F&T filter capacitors. I have decided to incorporate a negative feedback switch on an otherwise typical 5E3 build. I am thinking of using a 22k resistor and a 20k pot in series off the 8 ohm tap.
Double checking transformer layout prior to chassis drilling.
I bought a Line 6 HX Stomp to get myself into the latest generation of hardware amp modelers. I decided to go with the HX Stomp over the Fractal Audio FM3. The smaller size of the HX Stomp is much more favorable at this point, but I do intend to try the Fractal Audio modeling one day.
I was a bit underwhelmed by the modeling in the Line 6 POD HD desktop for years, but started to warm up to its modeling recently. Before getting the HX Stomp, I was playing through the preamp models into a VST plugin chain: Ignite Amps TPA-1 power amp and impulse responses in Redwirez MixIR2. I also started using the POD as a hardware insert for its effect models in Reaper.
My main draw to a new hardware modeler was a standardized input into the digital realm. Gain staging is inconsistent between different brands of VST amp modelers. Furthermore, each interface manufacturer has their own line level input levels. My original reference setup was a Waves/PRS Guitar Interface (gain at minimum) into a Focusrite Saffire Pro 26 Line Input (maximum level +28dBu). I was recording bridge humbucker DIs with peaks at around -10 to -12 dBFS. Kazrog Thermionik amp sims required 6-12dB trims on the inputs, while Scuffham S-Gear required significant boosts (maxing out the input trim at +6dB). I was getting reacquainted with the recording unaffected DIs through the POD HD recently, and it warmed me up to the idea of the Helix family of modelers.
The HX Stomp allows me to record DIs on my desktop or iPad/iPhone at the consistent levels that are appropriate for the Line 6 amp models. Helix input levels were about 3dB lower than my Waves/PRS Guitar Interface - Saffire setup.
Reamp routing with the HX Stomp.
I can record an unaffected direct signal into my DAW while monitoring through the HX Stomp. I can then take the dry unaffected signal and reamp it through my amp using one of the the HX Stomp's loops to fine tune the sound. I like that this sort of reamping can be easily moved from location to location, with my iPhone serving as the DAW.
USB reamping comparison with real amp and Brit Trem Brt model.
I immediately gravitated towards the Brit Trem Brt model, as this sounded most like my Plexi amp build set to early Lead Spec (split cathode, V1b 0.0022 coupling cap, no V2a bypass cap) with no bright cap. Despite the differences in circuitry, the Treble, Middle, Presence, and Gain knobs were in the same ballpark. The behavior of the Bass knob on the HX Stomp did not scale the same way as the real amp, but I am able to dial in the two sources to be very similar. With the amp's bass on 2, the equivalent Helix setting is about 7. The Brit Trem Brt was modeled after a shared cathode '68-'69 1987 Tremolo with bright cap, which would explain the major difference. The noise floor is much better with the Helix model when compared to the real amp, which is a major plus.
A comparison between the HX Stomp Brit Trem Brt and Brit Trem Nrm models against my Plexi buildwith the bass set on 0.
I have a Dunlop DVP4 mini expression pedal and Mosky single footswitch assigned to EXP1 and FS5 inputs respectively. To get the DVP4 working, I had to flip the internal dip switch to Expression, and set the HX Stomp's expression polarity to Inverted.
I recently bought two sets of pickups from Wolfetone Pickups during their 25% off sale.
Marshallhead/Dr. Vintage
The humbucker set is an Alnico 5 Marshallhead bridge pickup (9.3k DCR) and Alnico 2 Dr. Vintage neck pickup (7.8k DCR), both in reverse zebra. The pickups were wound on the same day that I put the order in, and arrived in 6 days. I went with the 4-conductor lead option to wire these pickups for series/parallel switching. I am installing these pickups in my 2003 Ibanez SZ520QM. I previously had GFS Mean 90 pickups in this guitar. The guitar will be set up to be tuned down to D Standard.
Both pickups mounted.
Control cavity shielded with conductive copper tape.
I am using 500K CTS push/pull pots to perform the series/parallel switching. The diagrams that I have encountered (Stew-Mac) seem to have the humbucker wired in parallel when the pot is pushed in, which is the opposite function that I want. I will attempt to wire the pickups as shown below:
Series/Parallel Wiring of Humbuckers
8/11/20 - I found time to complete the wiring of the humbuckers. I only had about a minute to try out the guitar through my Pro Junior to make sure all was working properly. The CTS pot switching worked as expected: pushed in for series, pulled out for parallel. I left many of the wires long for future troubleshooting/experimenting. The tone pot is a CTS 500KA with a 0.022uF orange drop capacitor. I don’t like to solder onto backs of pots, since I always burn the flux trying to get enough heat on the pot casing. I found these solder lug washers from GuitarElectronics.com, which allowed me to get a soldered connection onto a pot.
I still have D'Addario 12-52 Chromes installed from the previous configuration of the guitar. I will be trying Elixir 12-52 Nanowebs on this guitar to see how much string life I can get out of them.
Completed wiring of control cavity.
Reinstalling the knobs and switch tip right after completing the re-wiring.
A full shot.
11/5/20 - I have been acclimating with the new pickups for a little while. The guitar is tuned to Drop C with Elixir Nanoweb 12-52 strings. This set has a wound G string, which I did not pick up on.
The Marshallhead is lower output than my initial expectations, but sounds great clean and with gain. The Dr. Vintage neck is clear, not flubby despite the thick strings. The output of these pickups is very low when set in parallel, but I can find uses for the sounds.
The previous combination of thick flat wound strings and P90 pickups had given me a thick sound that was fun for clean and fuzz, but limited for distorted rocksounds. The brighter nature of the current configuration allows me to fool around with downtuned heavy music without flubbing out.
Update. Marshallhead bridge pickup through Helix Native.
Marshallhead and Dr. Vintage into a Fender Pro Junior IV.
Marshallhead bridge pickup through more Helix Native amps.
Meaner P90/Mean P90
The Alnico 2 P90 soap bar set is made up of a Meaner P90 (9.3k DCR) for the bridge position and a Mean P90 (8.3K DCR) for the neck position. I will be putting the pickups in an SX Hawk, and changing out the pots from 250K to 500K, with a 0.022uF orange drop capacitor. The control cavity and pickguard will be shielded with conductive copper tape.
SX Hawk pickup route under pickguard with Wolfetone P90s mounted.
8/13/20 - I wired up the guitar with audio taper pots. The guitar originally had linear taper volume pot, which I have gotten used to. My first observations are that the Meaner P90 bridge position is much brighter than with the stock pickups/electronics. The new pickup definitely has more output than the stock ceramic bridge pickup. The change to 500k pots could be adding the extra high end that I am not used to with this guitar. The Mean P90 in the neck position is comparable to the stock pickup from my memory.
Wolfetone Meaner P90 and Mean P90 through my Plexi-circuit 50W amp.
Edit - 12/5/23 - I bought another Meaner/Mean P90 set just as the Wolfetone sale was ending for good. These pickups went into a Squier Cabronita Baritone Telecaster. The guitar , since the sound wasn’t all that inspiring. The stock pickups sounded like P90s, but I wanted the upper midrange that the Wolfetones provided in the SX guitar.
I think the guitar sounds great now, and I keep coming back to it. The pickups sound great with gain.
While swapping the pickups out, I also shielded the pickup/control cavities with leftover copper tape to minimize noise. The guitar was rather noisy without any shielding in the cavities, and hard to tolerate with distortion. The guitar is now quiet enough to play with Plexi crunch-levels of distortion when I position of guitar in just the right magnetic position.