I've been wondering about how the Suhr Reactive Load compares to my speaker cabs as an output presented to my tube amps.
Suhr Reactive Load (Green) vs V30/H75 in my Jet City 2x12 (Blue)
I used a Dayton Audio DATS V3 to take some measurements to compare the impedance curves of various speaker configurations vs the Suhr Reactive Load. The Suhr Reactive Load is meant to mimic a Marshall 4x12 with Greenbacks as a reference. I was surprised how close its impedance curve compared to my Vintage 30/Creamback H75 combination (illustrated above).
I am looking into recording my tube amps with speaker loads when my playing environment is favorable to loud noise. The Suhr Reactive Load + IRs will continue to be tools that I utilize, but there is excitement in pushing air and moving microphones.
The accuracy of my lower gain amp DI captures should benefit from using complementary speaker loads. The Suhr’s 4x12 response adds some beef for rock tones, but it can be a bit much for some edge of breakup tones.
For those times that I cannot turn my amps up, my plan is to capture my amps in NAM with a speaker load.
NAM Speaker Load Captures vs Suhr Reactive Load Captures
Varying speaker impedance curves is something I already explore in my Fractal FM3. Adding the contribution of my speakers to my digital tones via NAM is the next logical step.
I bought a DIYRE Colour Palette MkII while it was on sale at $120, right before the price increase to $200. It is a vehicle to use up to 3 Colour modules, modular audio circuits for an already modular 500-series format. I put off the build for about a year, but couldn’t justify an entire project sitting on my workbench any longer.
Each bypassable Colour module has a front panel trim/drive knob with a bypass button, with an overall master bypass button at the bottom. At the outset, I was planning on buying the Louder Than Liftoff Implode (1176 Rev F), Avenson MN-50 Smash (Fostex MN-50), and Tonecraft Audio Toneloc (Shure Level-Loc) compressor modules. At this time, I may skip the Toneloc since Shure has partnered with Korneff Audio and Black Lion Audio for the new plugin and hardware versions of the circuit. I am planning on going with the Louder Than Liftoff Pentode Mk2 module, a miniature tube saturation circuit.
Colour Palette with Louder Than Liftoff Implode.
The build came together very quickly over 2 nights because of the relatively low parts count and spacious PCB. Like the DIYRE EQP5 I previously built, PCB solder pads were generously spaced. It was easy to get the main PCB to line up with the daughter board. I had an easy time fitting and aligning the faceplate to the rest of the assembly. Without any modules, I could not test the functionality of the unit when engaged. I learned that the LEDs only light up with modules installed, and the color of the illumination is based on the module. I had to get at least 1 module to see if the Colour Palette was properly working.
Colour Palette mounted in 500 rack for initial testing.
I started off with a Louder Than Liftoff Implode compressor module. A jumper sets normal and high level of thresholds for the input section of the compressor, which doesn’t seem to be offered on earlier versions. Attack and release controls are set by trimpots, and are configured to Dr. Pepper settings at 10:00 and 2:00 respectively.
A pair of jumpers sets ratio for either 4:1 or All Buttons In mode, although I will likely leave the module at 4:1. The Colour format does not provide visual feedback for gain reduction of the input. I fed some sine tones into the unit to get a feel for the amount of output gain reduction at different trim/drive knob settings.
I wanted to pair an analog EQ with the Hairball FET/500 build and thought an API-based EQ would be appropriate. I had read on forums that the CAPI LC25 performed well on drums due to its fixed frequency points. It is inspired by the API 560 Graphic EQ, but with different EQ points.
CAPI LC25 Main PCB
Coming off the Hairball build, the main PCB of the CAPI was in the same league of difficulty. I followed the directions on the CAPI website to make sure I didn’t botch the kit by building out of sequence. Component soldering went quickly, while the mechanical assembly felt a bit tedious. It didn’t take too many tools to assemble: a soldering iron, clippers, a multimeter to determine resistor values, a 0.05” Allen key, a 10mm socket wrench, and a Phillips screwdriver.
Current lunchbox modules.
The EQ is easy to use in practice. The 2dB steps are clear and fixed frequencies make it easy to navigate.
I built a Hairball Audio FET/500 Rev D kit to get the hardware 1176 experience in a compact 500 series form factor. I jumped in during a Black Friday sale price of $385.
The kit had the highest parts count out of the few 500 series kits that I’ve built so far. The solder pads on the PCBs were rather small, comparable to ones found on DOA kits. The components were spaced out well, so I didn’t make too many inadvertent solder bridges. The assembly was fairly straightforward with a good online build guide and interactive build map on the Hairball website.
The calibration process could have gone a bit more smoothly. The trickiest of the steps was the gain reduction meter calibration with the adjustment of R540 (Tracking Adj) on the Main PCB. There is a hole on the meter PCB to access this trim pot, and it is the most difficult to adjust. I initially could not get the gain reduction to budge from 3dB when 9dB was actually present. I then read on the GroupDIY support thread that the R540 trim pot was a 20 turn trim pot. I had originally assumed that the adjustment range was within 1 turn.
Physically turning knobs as I react to what I hear is a major positive of working with hardware such as the FET/500.
Some audio demonstrating the effect of the audio path can be found here: link to files
I ran a snippet of mono drums through several pieces of hardware:
Bypassed FET/500 as control
FET/500 No Gain Reduction 4:1 Att-9:00 Rel-3:00
FET/500 9dB Gain Reduction 4:1 Att-9:00 Rel-3:00
CAPI VP28 Unity Gain Mode
DIYRE EQP5 w/ EQ flat
I quickly did this to see what happened to a signal being passed through the FET/500 audio path without compression versus the CAPI VP28 and EQP5.
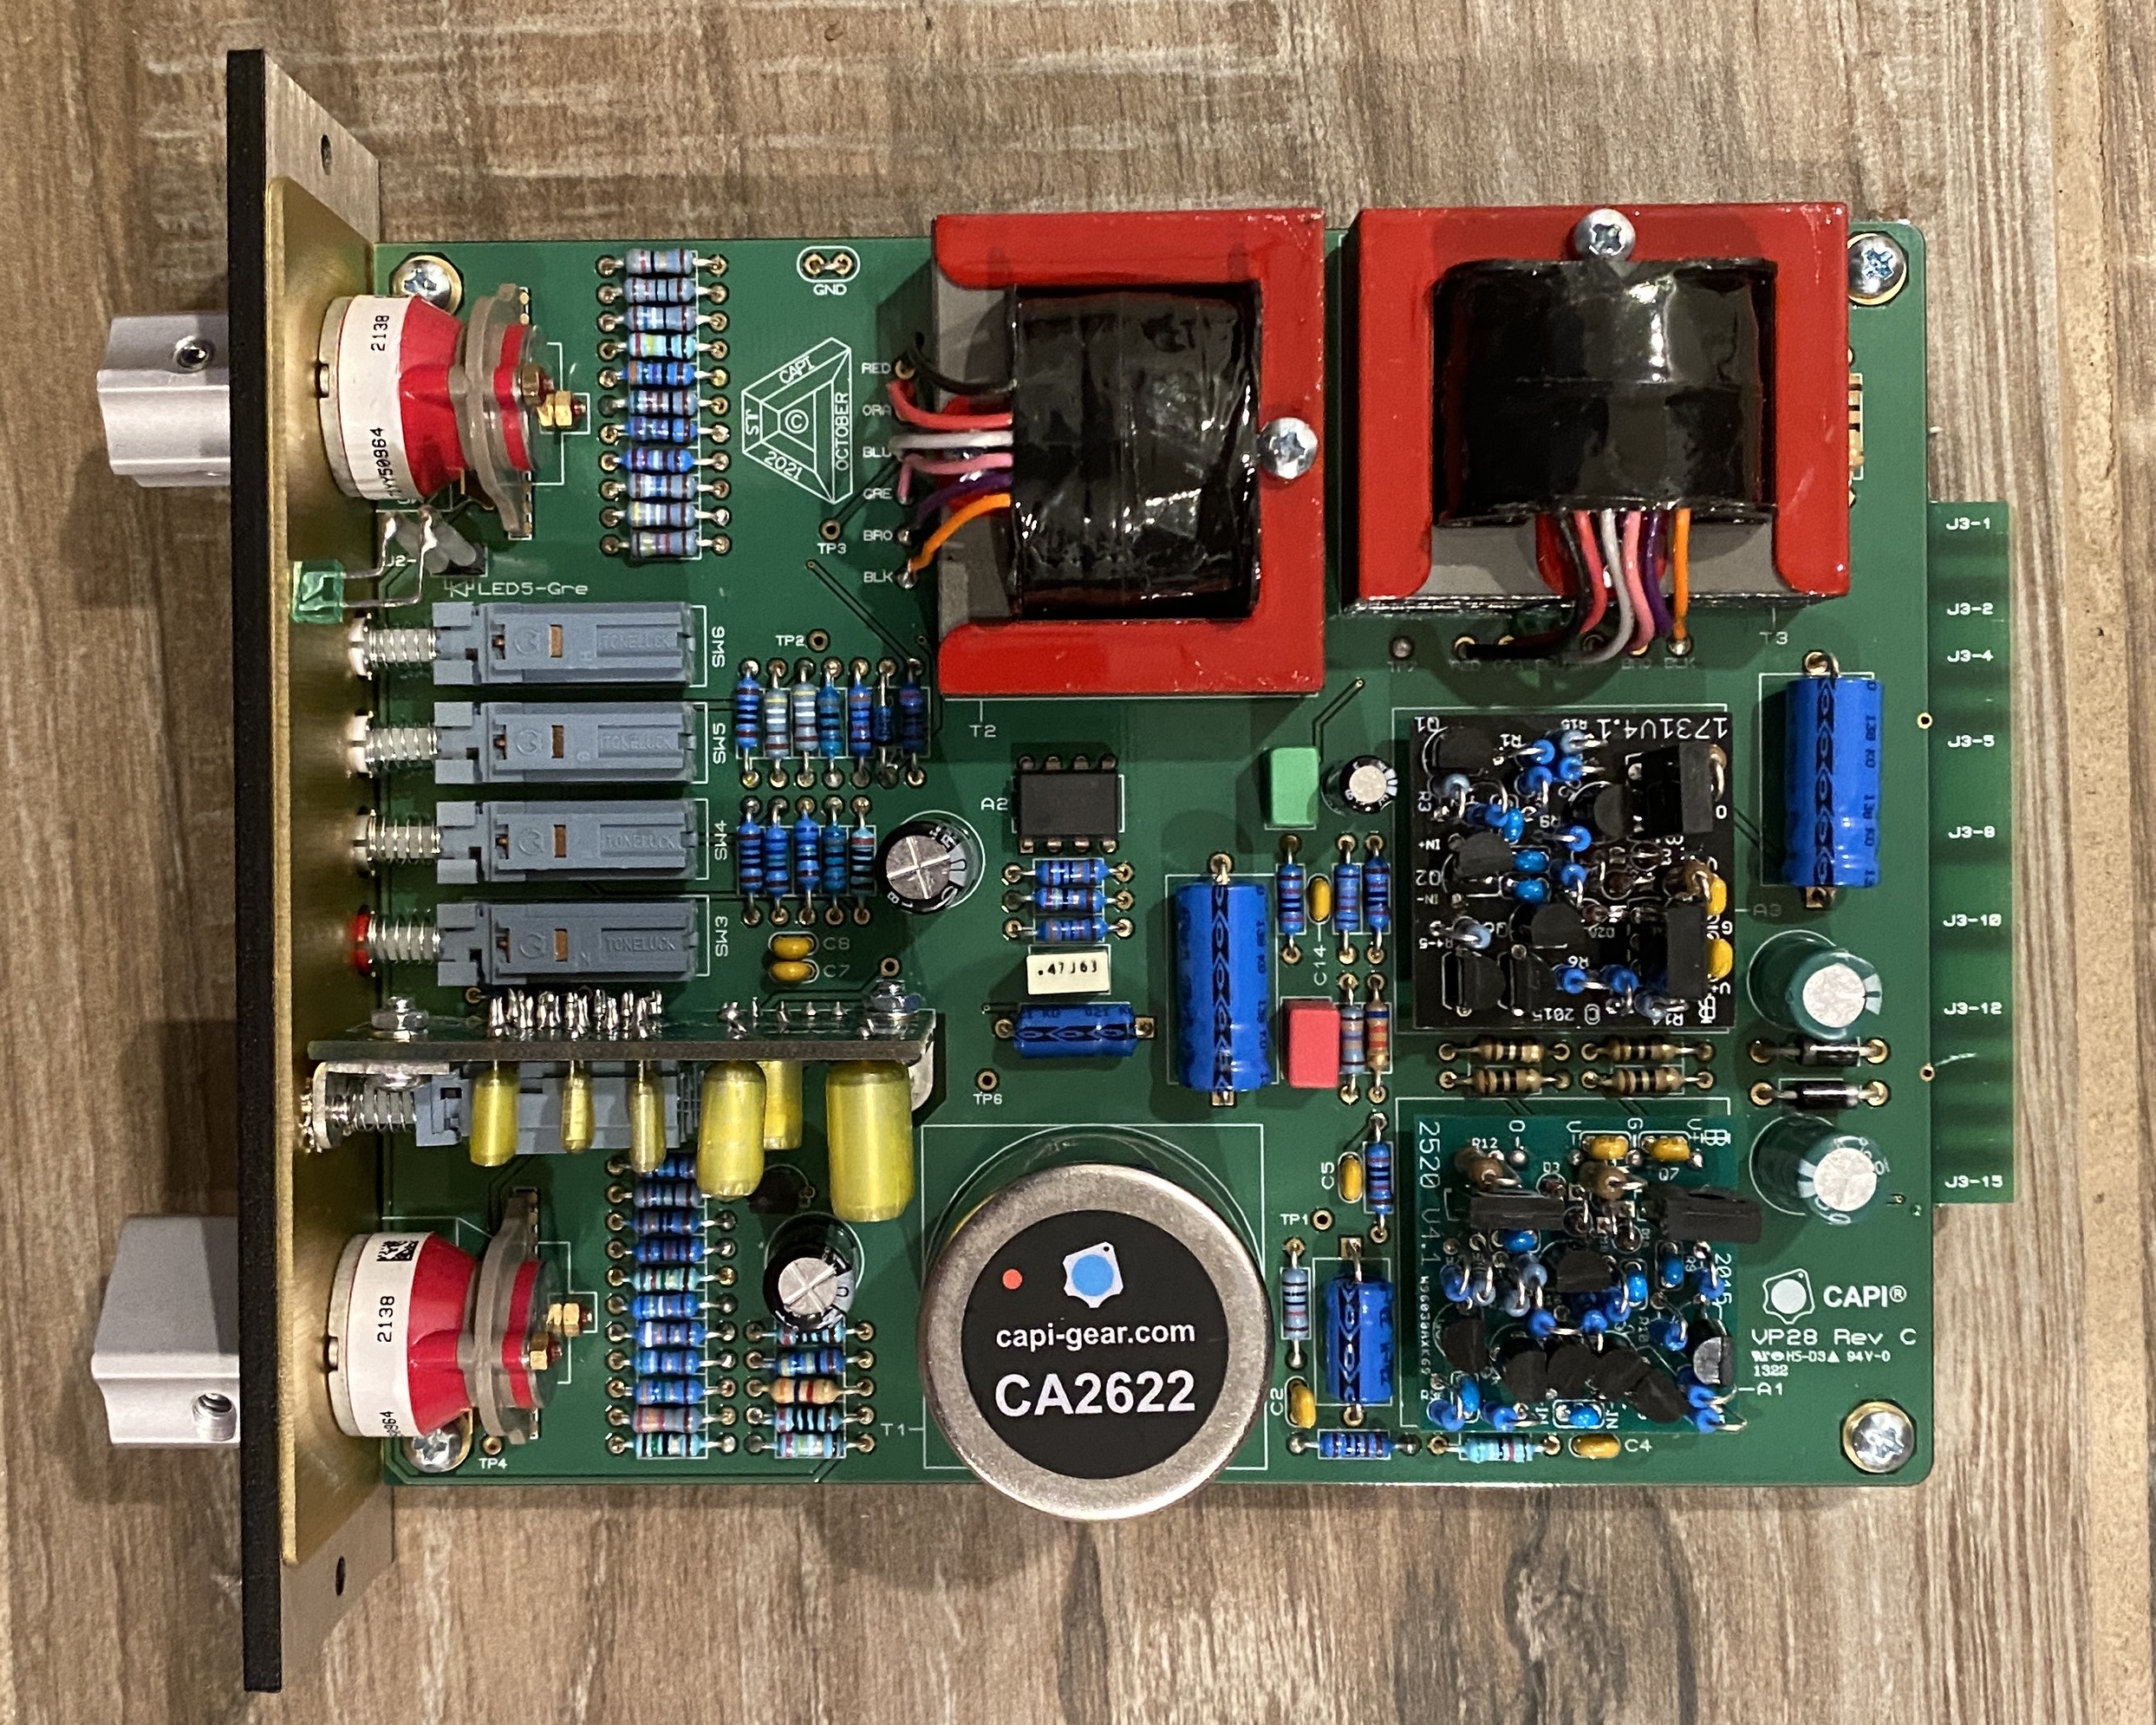
My next project is a pair of CAPI VP28 preamps, with GAR2520/GAR1731 op amps in the gain/fader positions. Referencing the GroupDIY build guide for the preamp assembly was a smooth process. There were many resistors to solder for the Elma switches, but plenty of space was available on the PCB. The aluminum right angle plate made it easy to align the PCBs with the front panel. The version of the kit that I received had lock washers in place of the star washers in all but one position. The TL081 op amp used to be socketed in the black PCB days, but all green PCBs I’ve seen have the component directly soldered.
The GAR op amps were the hardest part to put together in the whole process. The tight spacing of the PCB was challenging to solder without creating solder bridges between the Mill-Max pins and nearby components. I botched one of the GAR1731 op amps and had to order a replacement to build. The 1/2W resistor that is closest to the V- and G pins is the most frustrating part of each build.
VP28 pair in lunchbox.
I immediately set my first-built VP28 to unity gain to run line level signals to hear the effect of API-like console conditioning. I particularly enjoy its effect on cymbals and snares. Whatever the VP28 imparts, it is almost like re-pitching the cymbal or drum up a bit.
Building these kits trained me to read resistor codes off of blue metal film resistors. Trying to figure out blue, green, and grey off of the blue resistor bodies was enough of a chore that I never tried. However, reading the codes made sorting so much quicker. Likewise, building the discrete op amp kits gave me some much needed practice in soldering. At one point, I was considering buying pre-made op amps after screwing up the GAR1731.
My first foray into the world of 500 series modules is with the DIYRE EQP5 Passive EQ kit. The build includes the vintage option using all stock components, except for the Warm Audio X731 op amp that I had layng around.
I was hoping for the CAPI 511 rack to become available as the foundation of my 500 series journey, but couldn’t wait for it to come back into stock. A promotional summer sale of the Fredenstein racks pushed me over the edge to move past waiting for the CAPI. I ended up with a Bento 8, after reading some positive reviews indicating that the power supply was improved over older models.
Fredenstein Bento 8.
Edit - 7/21/23 - I built GAR AM10 and OA10 op amps for the EQP5 to try a non-API flavor in the EQP5. These are Quad Eight and Neumann circuits respectively. The OA10 is described as the warmest of the GAR op amps, and I wonder if this means I can push the high shelf control up a little more without getting harsh. I haven’t compared these two op amps side by side yet, but will be an interesting exercise to see if my preconceived notions hold up.
GAR AM10 and OA10 op amps.
Running drums into the EQP5 with the EQ flat adds a subtle tonal change at unity gain with the OA10 installed. The level seemed to drop a few tenths of a dB with the Warm X731, so I was glad to have built the GAR op amps. The push-pull trick with the LF controls tightens up the kick drum without making it sound smaller. Being able to boost/cut 30Hz or 60Hz independently is a nice subtle detail. The HF boost at 10k gives sparkle to cymbals, but is subtle enough to avoid harshness.
For bass guitar, I wanted a little more control over the frequencies. I liked what the HF boost did on dreadnaught acoustic guitar recorded with my mid-heavy Beesneez BU87I C.
I bought some 3ft long Owens Corning fiberglass pipe insulation to make DIY tube traps. I went with two sizes: 6” pipe (2” wall) and 10” pipe (1-1/2” wall). The 6” model’s outer diameter is slightly larger than the ASC 9-1/2” Studiotrap. The 10” model was the largest pipe size I could easily source with free shipping, but it’s outer diameter (13-3/4”) is smaller than the ASC Isothermal (16”) and GIK Turbo Trap Pro (17”) models that I looked at.
Pipe Size
Model
Thickness
O.D.
6”
722568
2”
10-3/4”
10”
722592
1-1/2”
13-3/4”
10” pipe insulation, with 14” wood cap.
Pipe insulation with fluffy insulation inside.
Half-length sections filled.
I glued 10” and 14” wooden craft circles to seal off the ends with Liquid Nails adhesive. I decided to use some remaining pink fluffy insulation that I wanted to stuff these tubes with, after reading that GIK uses additional insulation in their tube traps. I had leftover bleached muslin fabric to wrap the fiberglass. I made the mistake of trying to wrap the traps over a thin plastic tarp, which resulted in many tiny folds. The traps turned out much neater using hardboard as a surface.
Tube traps surrounding speaker.
I took a few quick measurements with and without the top 14”x18” tube trap placed above the speaker. The traps seem to help above 145Hz.
My initial plan is to use the tube traps in a similar manner as the ASC AttackWall Starter Kit. When the budget permits, I’d like to build some tube traps to surround my drums.
I bought a Behringer A800 power amp to power a pair of Realistic Minimus 7 speakers as a secondary monitor reference. At $200, it was cheaper than most new budget stereo rackmount power amps. An Audio Science Review of the A800 had encouraging measurements of frequency response, good enough for my monitoring purposes. I am monitoring at fairly low volumes, so I am barely cracking the dials and not pushing this power amp to its limits. The Minimus 7 and A800 combination are a good alternative reference to my JBL LSR305. The mids on the Minimus 7 are very noticeable, making it apparent when snares or guitar volumes are unbalanced. Yet the sound is not as lo-fi as an Avantone Mixcube; listening experience is still pleasing.
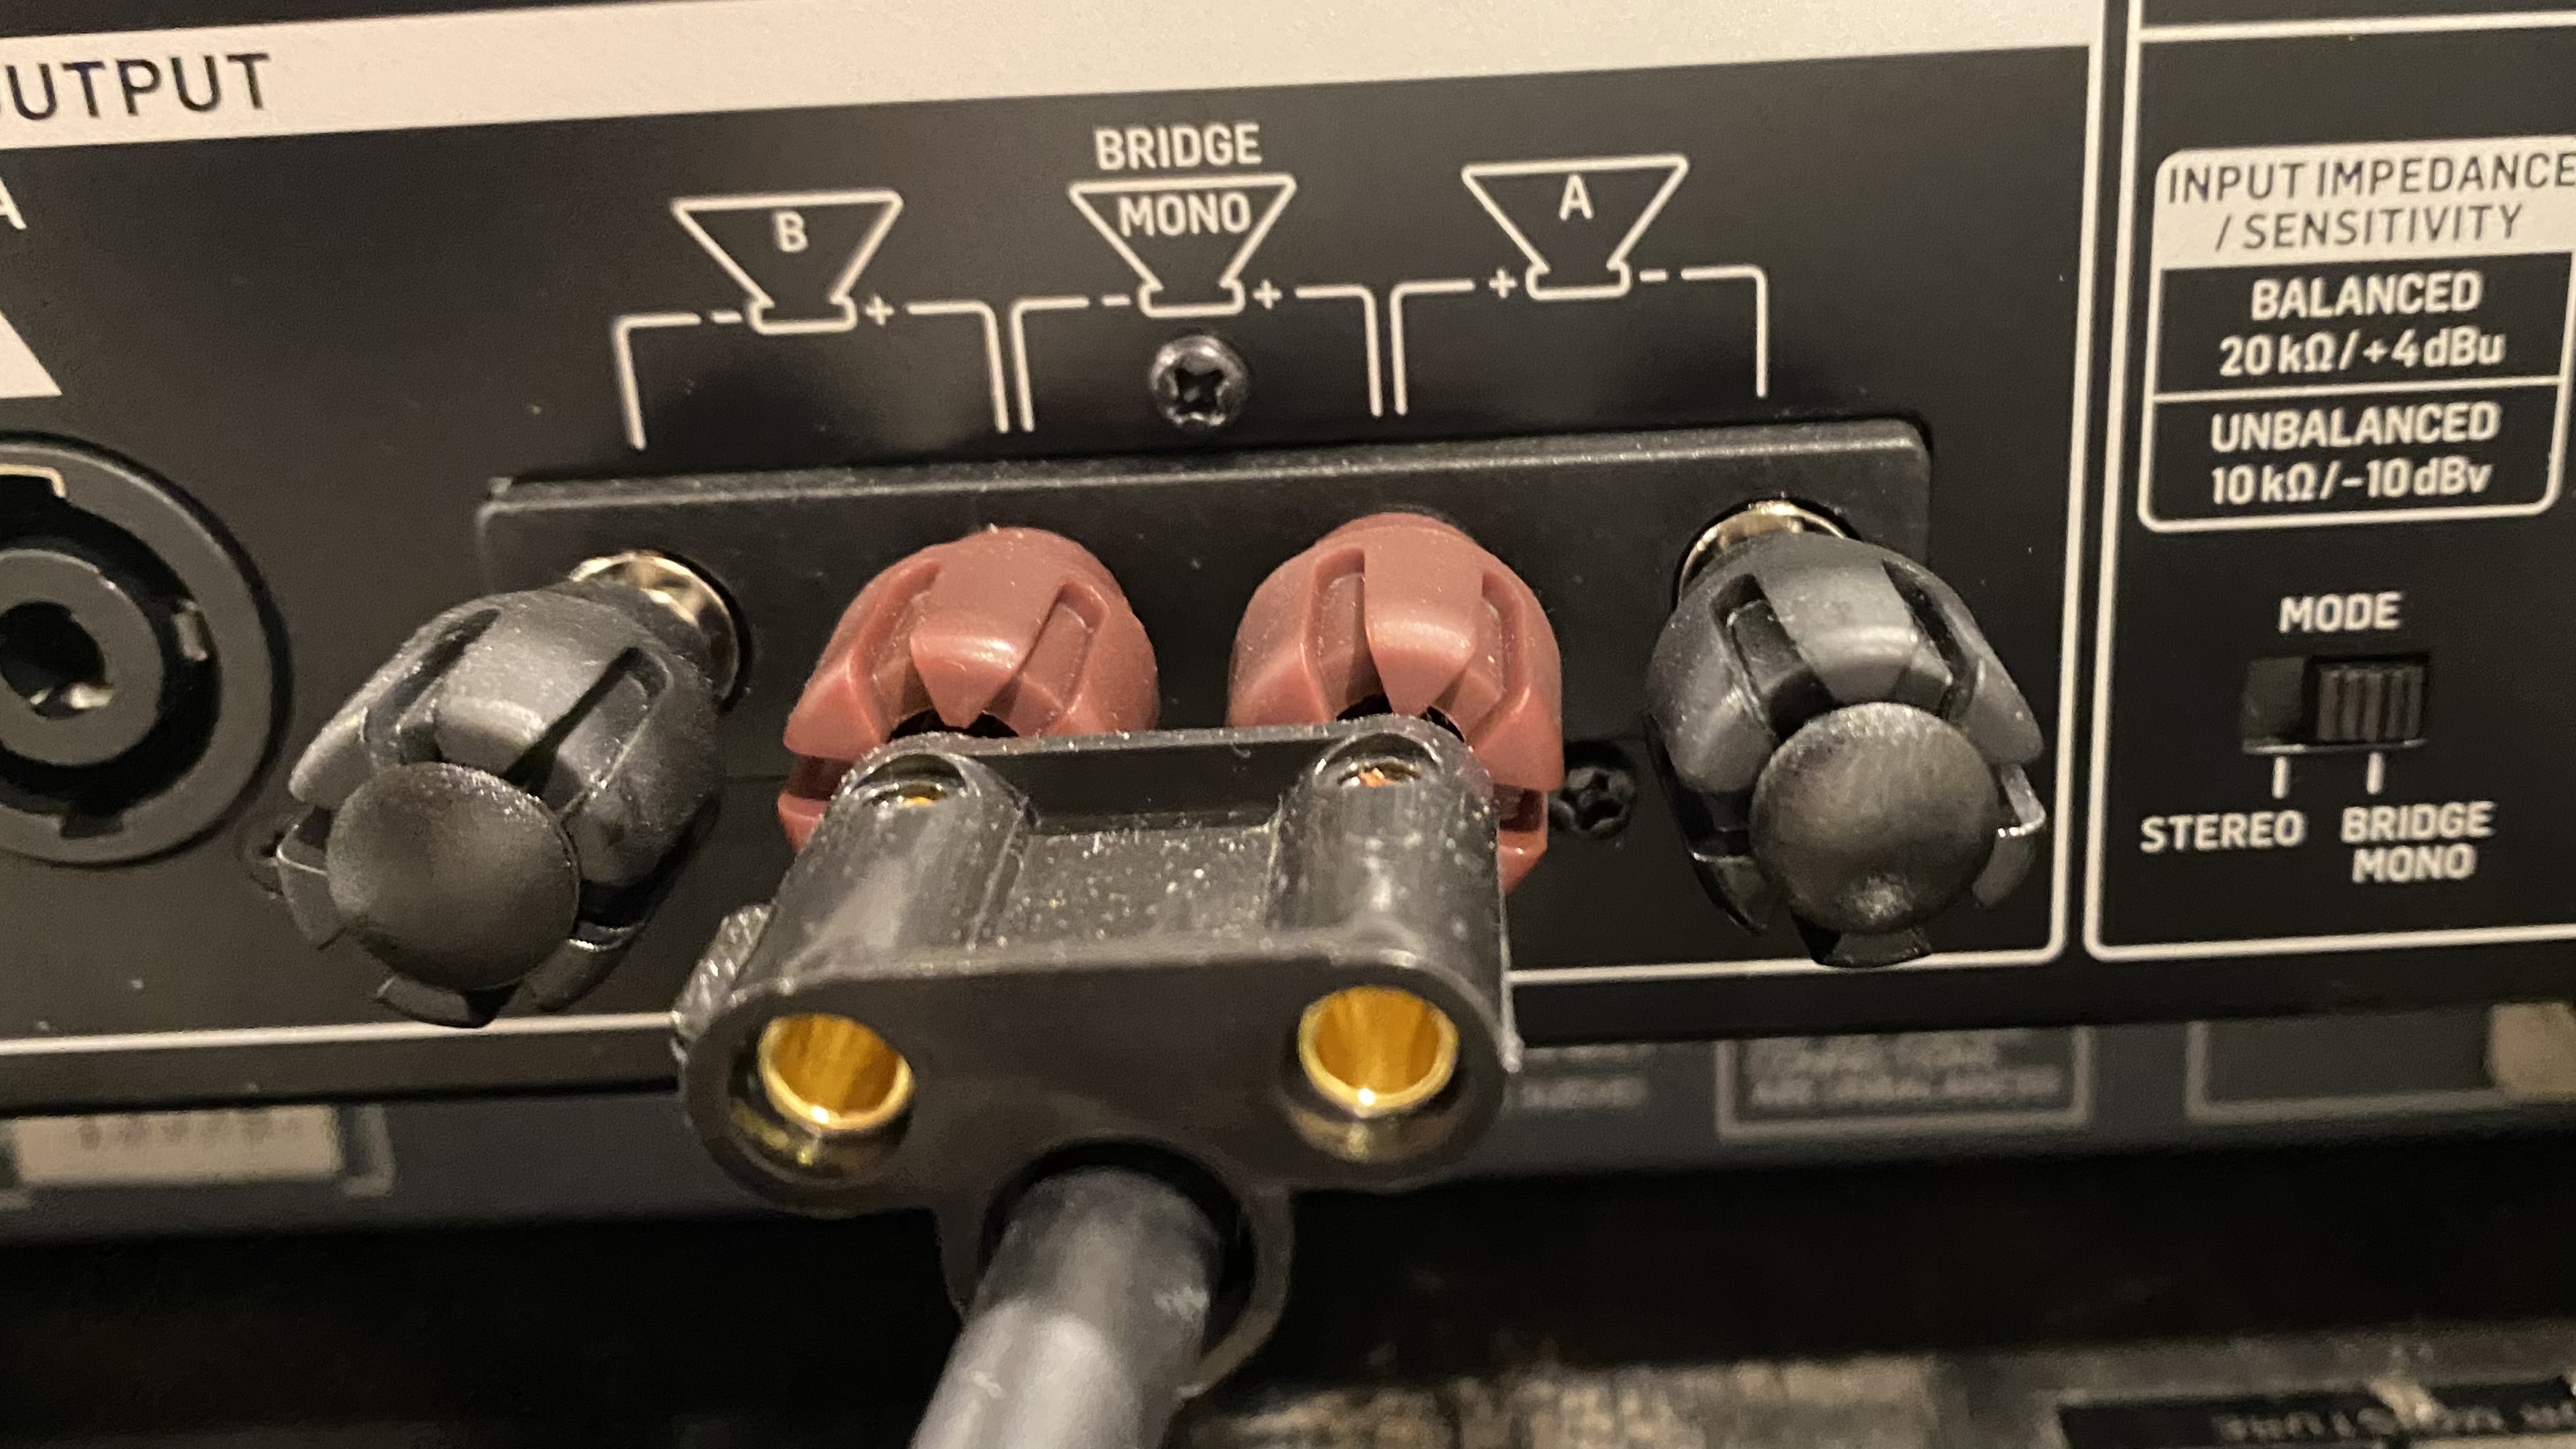
Running the A800 in Bridge Mono for guitar amp.
I tried using it as a mono power amp to make some guitar cabinet impulse responses. Coupled with a Chameleon Labs 7603 microphone preamp, I was able to get finally capture IRs that had a sufficient low end to my liking. I didn’t know how to accurately dial in my Seymour Duncan Powerstage 170 to be flat response in the low end for this application.
I've started reshooting my cab IRs. I started with my cabs with the Greenback, Creamback G12H75, Vintage 30, Weber Blue Dog, Jensen P10R. I plan on streamlining the mic selection to a SM57 with Crimson Orange handle, Beyerdynamic M160, Beyerdynamic M201, Beesneez BU87I C, and Sennheiser E906.
I’ve been looking into building some more absorptive panels for my room. I wanted to build something as close to a floor-to-ceiling corner superchunk as I could. I wanted more coverage than my 24”x48”x4” OC703 panels could provide. I wanted to crudely emulate the rectangular GIK Soffit Traps.
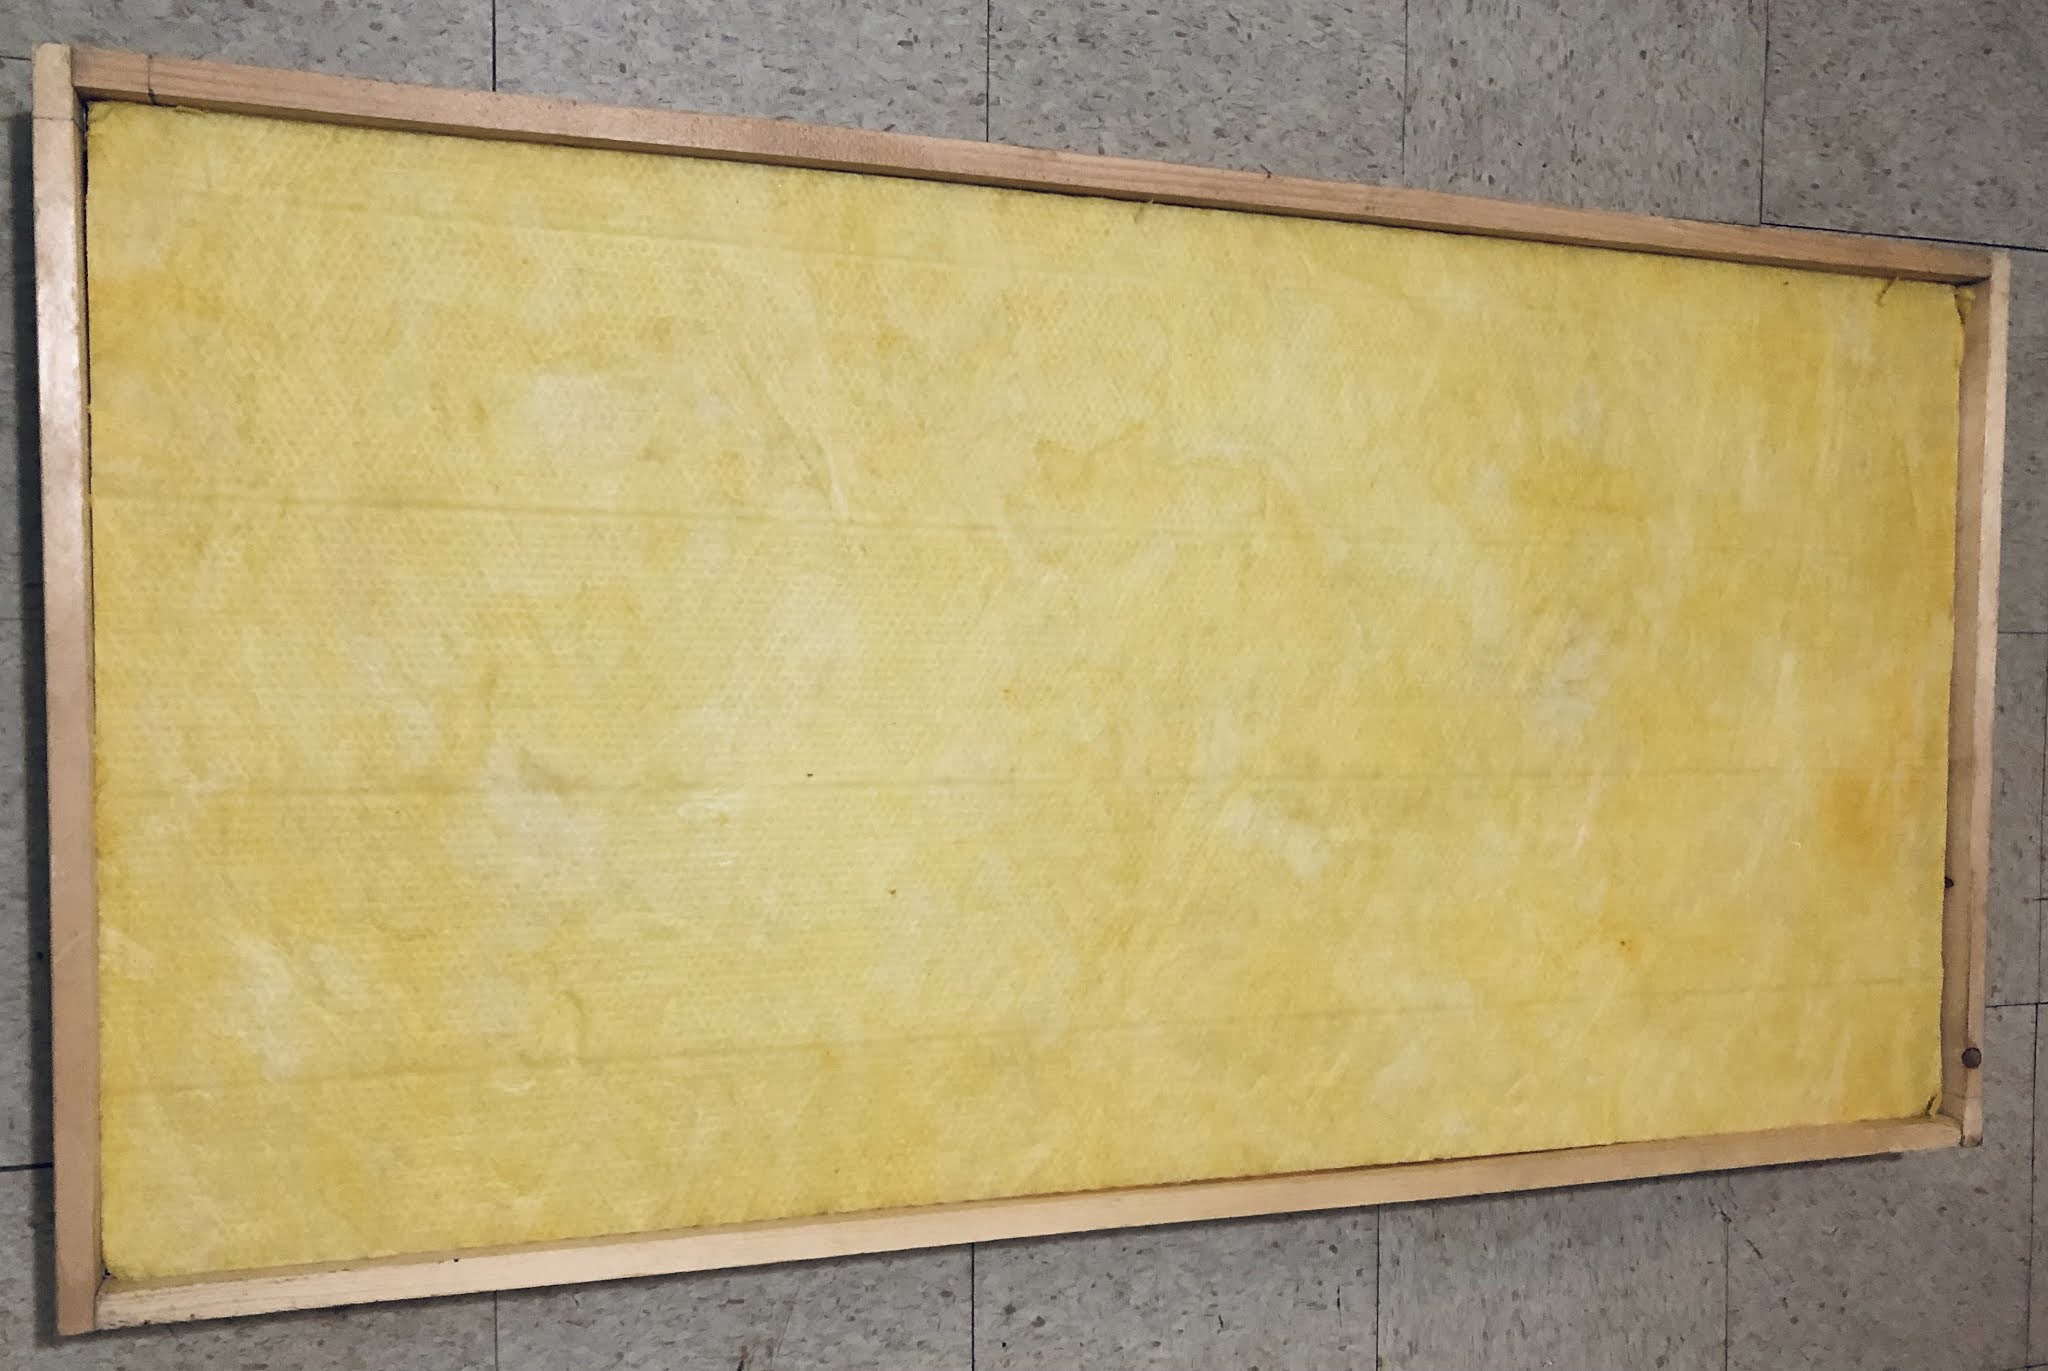
I bought a roll of Johns Manville R30 fiberglass insulation since it was the most readily available and least expensive option at the time. I will be cutting 15”x15” pieces of insulation, and stacking into a 37” high frame. Using 2”x2” furring strips, the external dimensions of each frame is 18”x18”x37”. The base is 1/4” plywood, while the top cap is 1/8” hardboard. Each front corner will get two of these frames.
Frames to be filled with fluffy insulation.
I originally thought of using PVC moulding to hide the staples and fabric edges. I may go the frugal route and use white tape instead.
I bought a couple of bags of Rockwool Safe N Sound to make 6” deep panels for reflection points. These panels will hopefully cut down on any ugly slapback reflections for when I record drums. I am using the cheapest 1”x8” ledger board from Home Depot. These frames are less labor intensive than the ones for the R30 above. The wood is pretty rough, and will require sanding. I plan on painting the boards a few coats of white.
8” Ledger Board Frame for 6” Rockwool.
Edit - 4/21/23 - I completed the rectangular fluffy traps and 6” Rockwool panels. A single layer muslin isn’t enough to hide the wood underneath; a second layer is needed for a uniform white look. It’s not so much of a concern with the Rockwool panels, but the fluffy frames really needed the second layer.
15.5”x 71”x6” Safe N Sound panel.
Left corner.
Right corner.
Room layout.
I used Room EQ Wizard to measure the effect of the panels on the left side of the room, since the bass response was most uneven on that part of the room. The image below shows measurements of the untreated corner (red), OC703 4" corner panel (blue), and the new fluffy traps with early reflection panel (green). The treatment improved the nulls at 99, 124, 156, and 185 Hz.
Room EQ Wizard 40Hz to 400Hz
The low end is still ugly, but there is a tangible difference. There is still a buildup of 60-80Hz that I will have to investigate, Perhaps some rockwool place above the ceiling tiles in my listening position will help evening out the response.
Edit - 4/26/23 - I moved my speakers closer to the wall (18” vs 4”) and the bass response evened out considerably. The 300Hz range worsened, so I will need to experiment with monitor placement a bit more.
Edit - 2/16/24 - I started to build some more frames again, experimenting with different lumber sizes. One method I’m trying is to glue 1x4 furring strips together to achieve 7” actual depth. The 1x4 lumber typical does not have as many twists as the 8” boards that I was sourcing from Home Depot. I can further straighten out a furring strip when I clamp a crooked one with a straighter specimen. A reinforced frame with outside dimensions of 33”x72”x7” requires 7 total 1x4 strips at $3.32 each.
I will finally get to have most of my gear in one place as I move into a new house. I will have some room to set up my amps and drums for quick home recording. The basement’s 7ft ceilings aren’t ideal for acoustic recording, but I’ll try to use some of my hypercardioid mics to minimize the room’s influence.
Empty basement for my recording space.
I may re-use my 24"x48"x4" OC703 panels as bass traps in the corners. I plan on buying a bag of 16” wide Rockwool Safe N Sound insulation to build four smaller 16”x72”x6” panels to tame early reflections. I’ll probably move the same panels around between tracking and mixing.
A major goal is to have my gear readily available so I can lay down an idea quickly. That may be electric guitar through a hardware modeler, MIDI performance on a controller/pads, drawing in notes on a piano roll, or mic’d drums/guitar. All of my MIDI controllers will be plugged in and ready to play. I will be using my existing audio equipment for the immediate future.
I am using an inexpensive L-shaped desk from Best Buy: the Walker-Edison Command Center Gaming Station desk on sale for $158. This desk provides me the most desktop real estate for the least amount of money. It’s not the best desk for this studio application, since there are no shelves for rack equipment. I do have old IKEA Rast nightstands that I will use as rack enclosures. As I progress with the move in, I would like to get some of my outboard rack equipment and Tascam M30 mixer set up on the desk. I am still in the planning stages for any cable management that will need to be installed to minimize clutter.
First iteration of the main desk.
Edit - 12/31/23 - I filled out the space a bit after moving all of my equipment in.
I pulled out my Roland VSR-880 to record again for fun. I used it to record some basic tracks, to transfer into my DAW to be edited and mixed.
Roland VSR-880 for remote recording.
I had converted it to record to SD card a few years back, but quickly moved onto recording remotely with a Steinberg UR-44 with an iPad. Going back to the VSR-880 and changing up my workflow has led to some inspiration to record.
Video of a recording tracked to the Roland VSR-880.
I find myself enjoying the constraints of fitting all my instrumentation into 8 tracks. It could be interesting for further limit myself to 6 tracks on my lower fidelity Roland VS-880EX. I need to refer to the manual to remind myself how to use the unit after every layoff. When I am regularly working with the unit, I have the key sequences memorized to compound actions.
A number of users have contributed on the VS Planet forums over the years to refining VSWE to move files off of the VS units as conveniently as possible. I was able to get Version 1.25 from one of the users through email, which allows for the 24-bit VSR-mode encoded files to be extracted.
I don’t know if VSWE will continue to work beyond Windows 10. The application was only updated through the Windows 7/8 era. I will occasionally use it for the oddly-inspiring novelty as long as my Windows setup can support the software. I am slowly transitioning to a Mac-based DAW, and already use an iOS-based remote setup.
I’ve been dipping my toes into recording with mics again, after using guitar amp sims, IRs, VST instruments, and samples for years.
I started to convince myself that recording acoustic guitar at home and remotely would be viable. I quickly learned that choosing guitar picks was integral to the sound. I initially went with the brightest pick that I could find, a thin 0.60mm Dunlop Ultex. I thought the 3U Audio Black CM1 was a good starting point.
Yamaha FG700S played with Ultex pick, recorded with Black CM1 mic.
I then experimented with darker tones by switching to picks like a 0.70mm Dunlop Tortex in the clip below. I wanted to minimize my small bedroom’s sound, so I started to use my dynamic mics. I wasn’t happy with the noise floor of a cranked mic preamp in my setup. I added a Cloudlifter CL1 to my setup, and got comparable output/noise to my other SDC mics. The Beyerdynamic M201TG works well on acoustic guitar for a dynamic mic, and it’s hypercardioid pattern rejects some room sound.
Alvarez AMPE915EAR Parlor played with 0.70mm Tortex pick, recorded through Beyerdynamic M201TG, Cloudlifter, and Warm Audio TB12.
I have also gotten interested in recording drums with minimal microphones. I am not a drummer, more of a guitarist who decided to hoard drums. I will try out mono overhead, Recorderman, and Glyn Johns-style mic setups for my lo-fi compositions. I’ll stick with Superior Drummer with my more conventional ideas. I’ve been recording just 4 pieces so far: a Gretsch Energy 22”x22” bass drum, a Pork Pie 6.5”x14” Big Black brass snare, a 22” K ride, and a set of New Beat hi-hats.
Drums with mono overhead.
I expanded my condenser mic collection to capture both stringed instruments and drum overhead: 3U Audio Teal CM1 SE, Oktava MK-012, Beesneez Lulu, and Beesneez BU87I C.
BeesNeez BU87I C recording my Alvarez ABT610E Baritone Acoustic.
3 U Audio Black CM1 and Teal CM1 SE microphones used to record Alvarez AMPE915EAR parlor acoustic.
I bought a box of Owens Corning 703 2” fiberglass boards a few years back, and had used it to make two 4” thick panels. The two remaining OC703 boards were sitting in storage, as my focus moved on to other DIY projects. I across some leftover 1x5 lumber recently, and pushed myself to use up the OC703.
The joints of the 25.5”x49.5”x4.5” frame were glued and reinforced with corner braces. I stapled bleached muslin fabric onto the frame. I may eventually attach an external frame of 1x1 lumber on the front to hide the staples for aesthetic purposes. It is not a high priority at the moment.
Panel with 4” of OC703 stuffed into frame.
Edit - 10/18/22 - I had some extra white paint to use on the sides of the panel to make it more presentable. I ended up screwing 1”x2” pine strips onto the front face to hide the staples.
Completed 4” thick OC703 panel.
Next, I am thinking of building 6” thick panels with Safe ‘n’ Sound, and soffit-style bass traps with fluffy insulation to improve my room’s acoustics.
I bought a Line 6 HX Stomp to get myself into the latest generation of hardware amp modelers. I decided to go with the HX Stomp over the Fractal Audio FM3. The smaller size of the HX Stomp is much more favorable at this point, but I do intend to try the Fractal Audio modeling one day.
I was a bit underwhelmed by the modeling in the Line 6 POD HD desktop for years, but started to warm up to its modeling recently. Before getting the HX Stomp, I was playing through the preamp models into a VST plugin chain: Ignite Amps TPA-1 power amp and impulse responses in Redwirez MixIR2. I also started using the POD as a hardware insert for its effect models in Reaper.
My main draw to a new hardware modeler was a standardized input into the digital realm. Gain staging is inconsistent between different brands of VST amp modelers. Furthermore, each interface manufacturer has their own line level input levels. My original reference setup was a Waves/PRS Guitar Interface (gain at minimum) into a Focusrite Saffire Pro 26 Line Input (maximum level +28dBu). I was recording bridge humbucker DIs with peaks at around -10 to -12 dBFS. Kazrog Thermionik amp sims required 6-12dB trims on the inputs, while Scuffham S-Gear required significant boosts (maxing out the input trim at +6dB). I was getting reacquainted with the recording unaffected DIs through the POD HD recently, and it warmed me up to the idea of the Helix family of modelers.
The HX Stomp allows me to record DIs on my desktop or iPad/iPhone at the consistent levels that are appropriate for the Line 6 amp models. Helix input levels were about 3dB lower than my Waves/PRS Guitar Interface - Saffire setup.
Reamp routing with the HX Stomp.
I can record an unaffected direct signal into my DAW while monitoring through the HX Stomp. I can then take the dry unaffected signal and reamp it through my amp using one of the the HX Stomp's loops to fine tune the sound. I like that this sort of reamping can be easily moved from location to location, with my iPhone serving as the DAW.
USB reamping comparison with real amp and Brit Trem Brt model.
I immediately gravitated towards the Brit Trem Brt model, as this sounded most like my Plexi amp build set to early Lead Spec (split cathode, V1b 0.0022 coupling cap, no V2a bypass cap) with no bright cap. Despite the differences in circuitry, the Treble, Middle, Presence, and Gain knobs were in the same ballpark. The behavior of the Bass knob on the HX Stomp did not scale the same way as the real amp, but I am able to dial in the two sources to be very similar. With the amp's bass on 2, the equivalent Helix setting is about 7. The Brit Trem Brt was modeled after a shared cathode '68-'69 1987 Tremolo with bright cap, which would explain the major difference. The noise floor is much better with the Helix model when compared to the real amp, which is a major plus.
A comparison between the HX Stomp Brit Trem Brt and Brit Trem Nrm models against my Plexi buildwith the bass set on 0.
I have a Dunlop DVP4 mini expression pedal and Mosky single footswitch assigned to EXP1 and FS5 inputs respectively. To get the DVP4 working, I had to flip the internal dip switch to Expression, and set the HX Stomp's expression polarity to Inverted.
I bought an Alvarez ABT610E off of Musician’s Friend in 2017 as a cheaper alternative to the Alvarez ABT60 baritone acoustic guitar. It is a Musician's Friend special from Alvarez that occasionally gets sold as the Stupid Deal of the Day.
I have left the guitar in the factory B-standard tuning. The guitar handles single notes and arpeggios better than chords in the lower register. I had to adjust the truss rod a bit, as I was fretting out on the higher strings. The onboard pickup isn't particularly inspiring to play, but I don't mind having it.
I used a Little Blondie microphone to record the guitar. I intend to try some LDC mics to record the guitar to see if the low end can be captured better. My tests with omni microphones do not capture the low end on chords as well as I would like.
I bought 2 Sescom SM-1A direct boxes for about $30 in 2013 and 2014 to record direct guitar and bass. I couldn’t find the specifications for my particular units from the 70’s/80’s. By 1990, the SM-1A was on its mkii model and had an input impedance of 60k. This is rather low for guitar DI purposes by modern conventions, but I was happy to play through it at the time with early guitar amp sims (LePou, Ignite Amps, TSE, Nick Crow, etc.). I used a Korg DT10 (1 MOhm input Z) to split/buffer my input occasionally, so I got around the low impedance issue without knowing it. I still like using the SM-1A for bass guitar and synths.
I dug these direct boxes out again and took a peek at the innards. The transformers look like they are in MuMetal cans.
Different finishes during its production run.
The guts of one SM-1A.
The guts of a second SM-1A.
Edit - 8/9/24 - I pulled out my SM-1A to do some informal comparisons to my typical DI rig in 2024. I typically use a Waves/PRS Guitar Interface into my Steinberg UR824 Audio Interface when I am not using my HX Stomp or Fractal FM3. With these 3 options, my guitar or bass is loaded by a 1Mohm input impedance in all cases.
My first test was to compare how the two chains handled a buffered bass guitar signal. I used my Ibanez Mikro Bass set on the P-pickup (6.27kohm DC resistance). I split my signal using a old Korg DT10 tuner, so the takes would be identical.
One output went to the Waves/PRS Guitar Interface, while the other went to the Sescom DI into a CAPI VP28 preamp. Both chains were within 0.3dB of my usual 11.5dBu DI chain. Once the gain difference was taken care of, the two signals were very similar. The Sescom/VP28 chain is going through a total of four transformers and two 2520-style discrete op-amps, while the Waves/PRS Guitar Interface amplifies the signal with none of these mojo parts.
Ibanez Mikro Bass - Korg DT10 - Sescom SM-1A - CAPI VP28 - Steinberg UR824 Line In
Ibanez Mikro Bass - Korg DT10 - Waves/PRS Guitar Interface - Steinberg UR824 Line In
I then tried the bass directly into each input chain. I had to record separate takes, making it a very flawed comparison. I did recorded multiple passes because I didn't trust my playing to be consistent. Several key differences kept showing up:
The signal through the Sescom/VP28 was suddenly 1.7dB louder than through the Waves DI.
Even with this gain difference balanced out, there was a frequency response difference. The Sescom chain captured more harmonics differently in the 1-2k range.
The direct sound of the bass into the Waves DIs were comparable in level and sound to the buffered examples.
The direct sound of the bass into the Sescom chain consistently had more mid-range.
Ibanez Mikro Bass - Sescom SM-1A - CAPI VP28 - Steinberg UR824 Line In
Ibanez Mikro Bass - Waves/PRS Guitar Interface - Steinberg UR824 Line In
Ibanez Mikro Bass - Sescom SM-1A - CAPI VP28 - Steinberg UR824 Line In - 1.7dB trim in DAW
Sescom (-1.7dB) and Waves/PRS different takes compared.
These observed differences are likely due to the impedance loading presented by the Sescom transformer. The buffered output of the Korg DT10 had likely converted the signal to low impedance, for which both chains interfaced in a similar manner.
The direct bass into the Sescom DI demonstrated weaker impedance matching (6k to 60k), which likely contributed to the change in frequency response. This coloration is probably welcome on bass, but probably detrimental for electric guitar DIs to be processed by amp modeling.